This article will be your complete guide on how to clear your cache on the Kodi application through Firestick settings and the application itself. You will also find out about the numerous benefits of using a VPN to protect your identity and data while streaming online.
Clearing the cache means removing some of the excess and corrupt storage on your application, and helps to increase the working speed of any application or website. It is not necessary to clear it every day; rather, all you have to do is to clear it only when you feel like the application is slowing down.
The process is pretty simple for Kodi and won’t take you more than a minute if you carefully follow the instructions below. So continue reading to make Kodi run smoother!
Below are detailed steps that you can follow to clear the cache in Kodi on your Firestick or Android device. The steps below have been undertaken through Amazon Firestick Lite; however, you can use the same steps on any other Firestick model as well.
The process of clearing cache for Android users using devices like NVIDIA Shield or MECOOL Box is also the same.

 If you think that you need to reset the entire Kodi application then you can select the Clear Data option to do this.
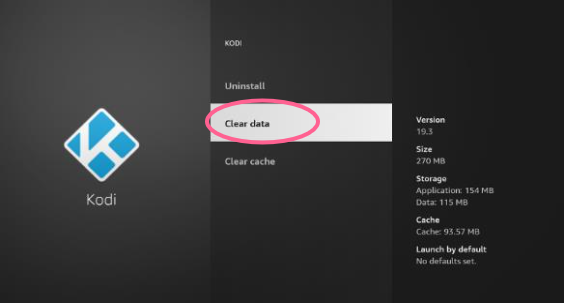
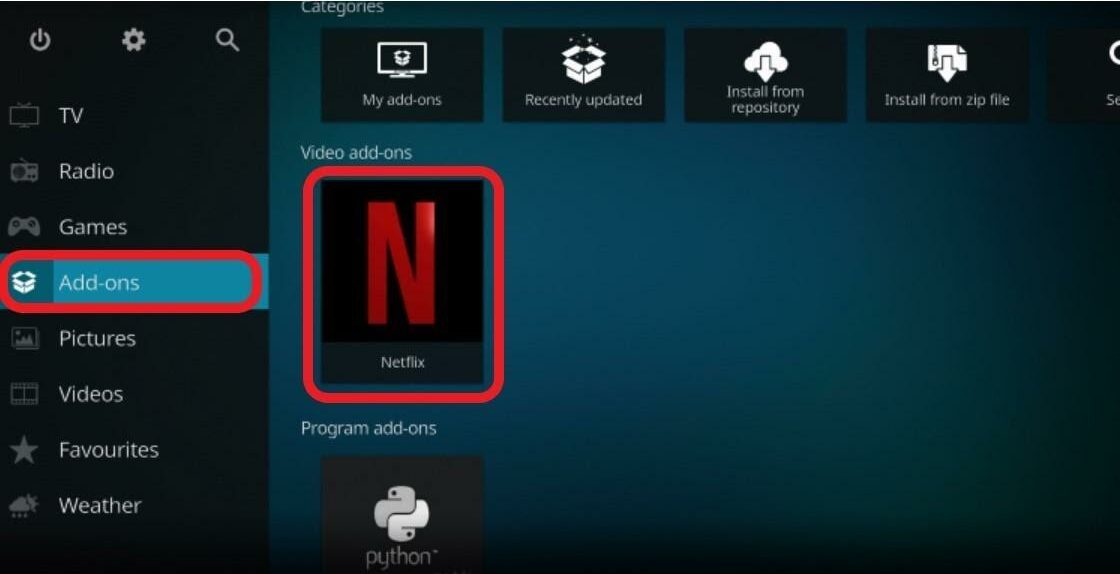
Another way to clear the cache on Kodi is also through its application. Follow the steps below to make your application work faster. The whole process won’t take you more than a minute!
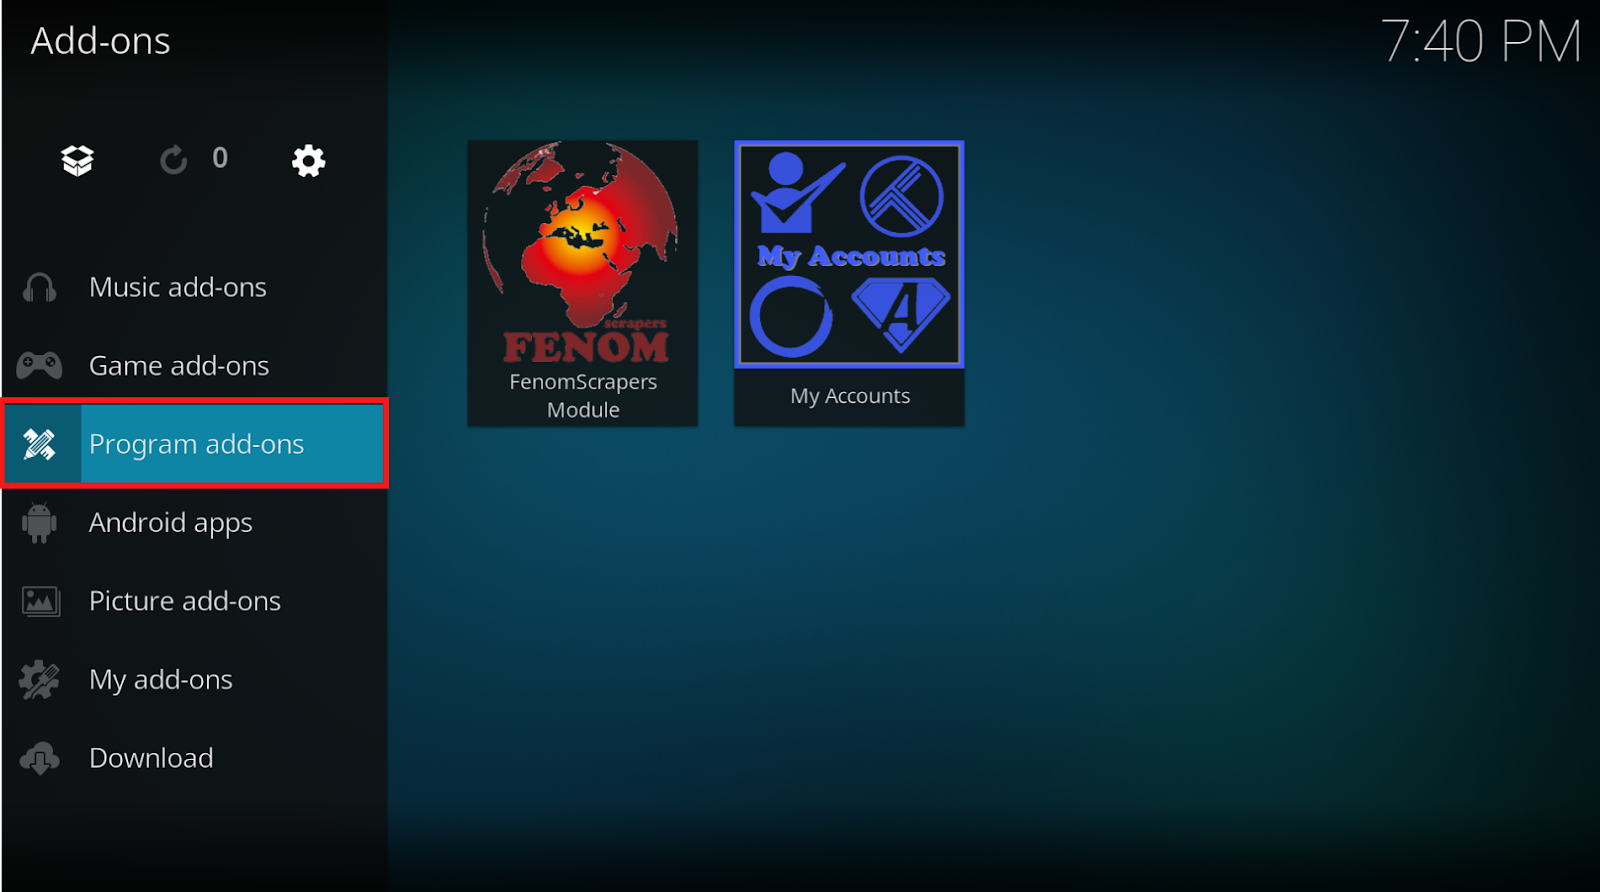
After this, your Kodi application should run smoothly without any lagging and buffering. If your Kodi application is working very slowly then you should probably clear the cache right now!
In this day and age, it is extremely important to guard your online activities. Online hackers and big corporate companies are major threats that can use your personal data for their financial gain.
Thus, we recommend that all our users install a VPN so that the personal information stored on their device is safe at all times. This way you can even conduct your online activities freely without being stressed about privacy breaches.
However, we do understand that many individuals are unaware of the benefits of using a VPN. Moreover, even individuals who know about the benefits struggle to find a suitable one to download that can cater to all their needs.
Thus, we have listed below some of the advantages of using a VPN, and this will make you aware of how necessary it is to use a VPN. Moreover, we have included valuable information about the features and installation process of one of the best Kodi VPNs out there. So keep reading!
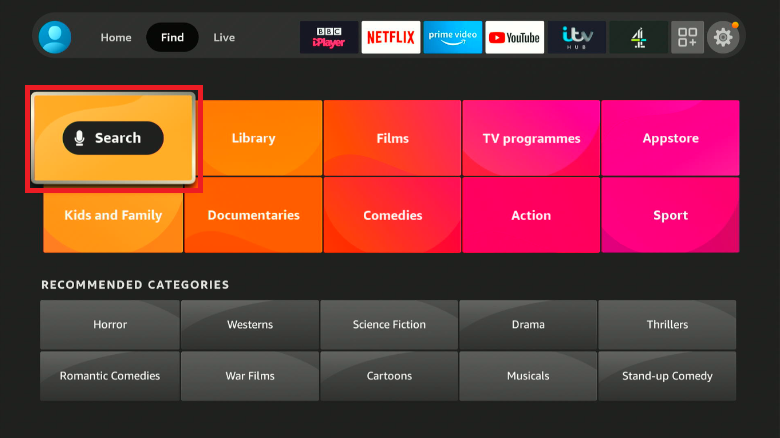
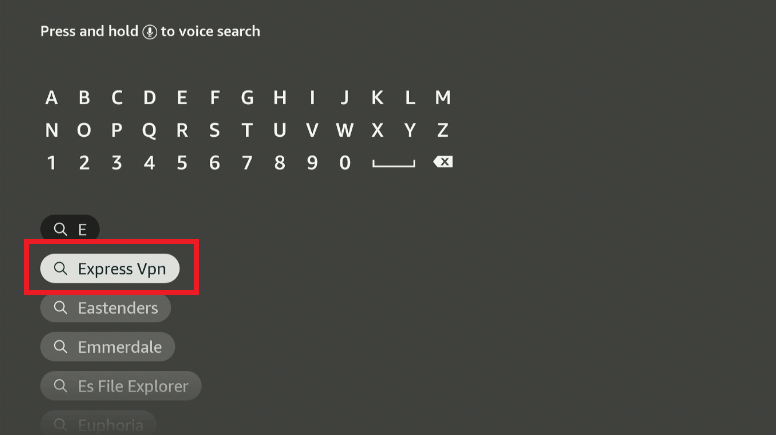
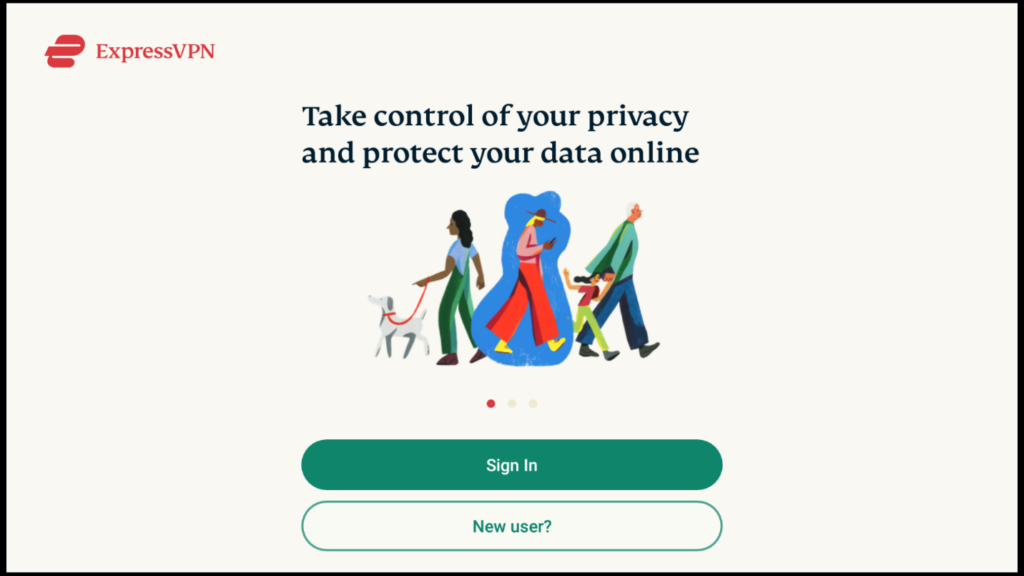
Before joining any application, you need to set up an account using your email address and password. You don’t necessarily need to install ExpressVPN to make an account. Rather, you can easily search up the website on your web browser to make an account and get to know about its different services.
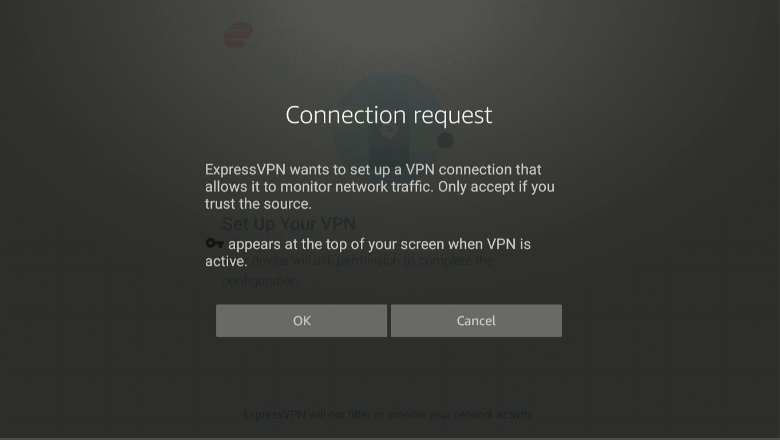
You do not have to worry about ExpressVPN asking for your detailed personal information, as it only requires some basic information to tunnel your activities through their network so that your connection is secure. You do not have to worry about any privacy breaches with this application.
Moreover, ExpressVPN also offers its users a 30-day money-back guarantee. This way you can use the service without worrying about any losses, as you will get your money back if you decide to not continue with the service.

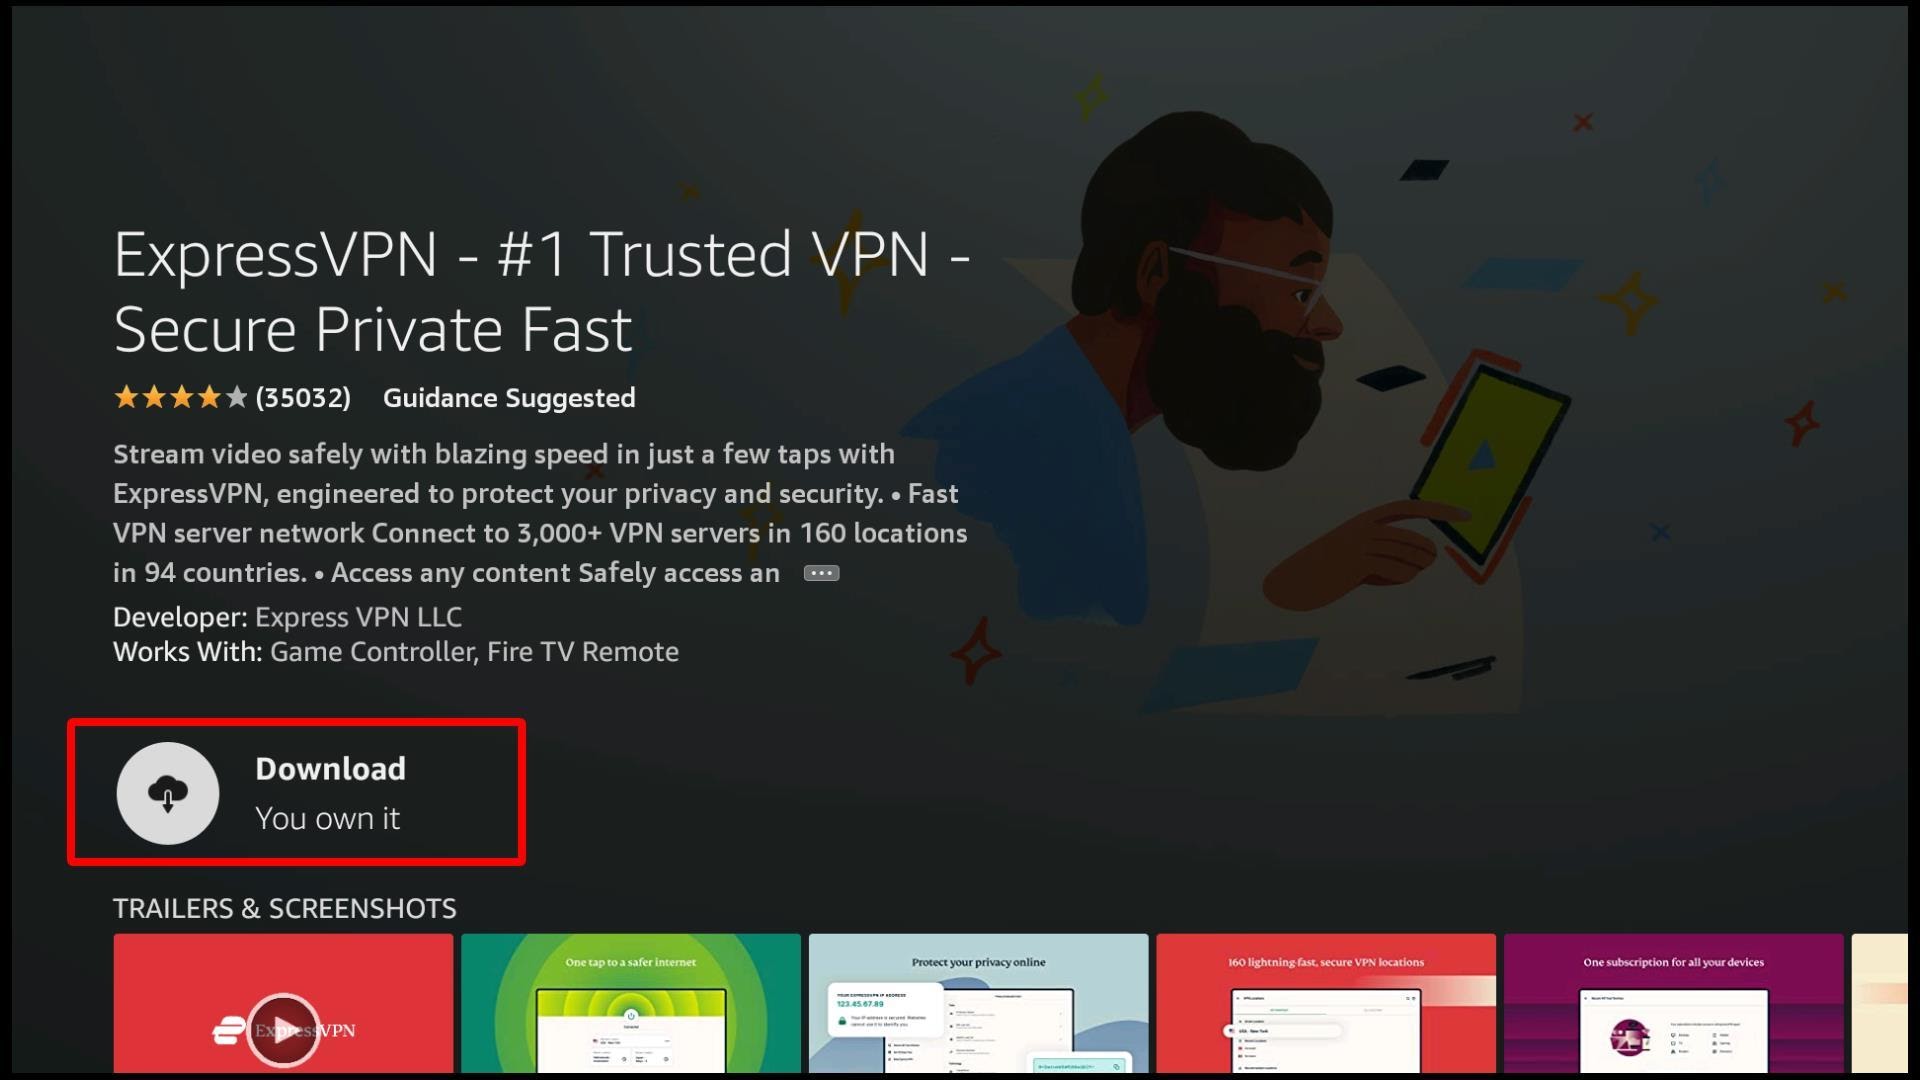
ExpressVPN will now be available on your Firestick home screen. Go ahead and launch the application.
 It is better to read up on these different features before you use them, so that you are well-aware of how a particular feature might help you.
A step by step guideline is available in the article above that will help you clear the Kodi cache through your Firestick settings and Kodi application. The process above will work on both Firestick and Android devices.
Sometimes an application or website might slow down or glitch. In these circumstances, you should clear the cache so that the website runs smoothly again. However, it is advisable that you only clear the cache when you spot some issues in the application.
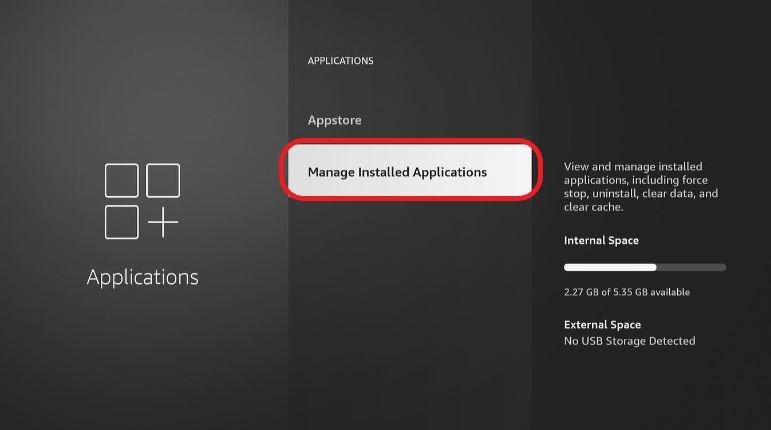
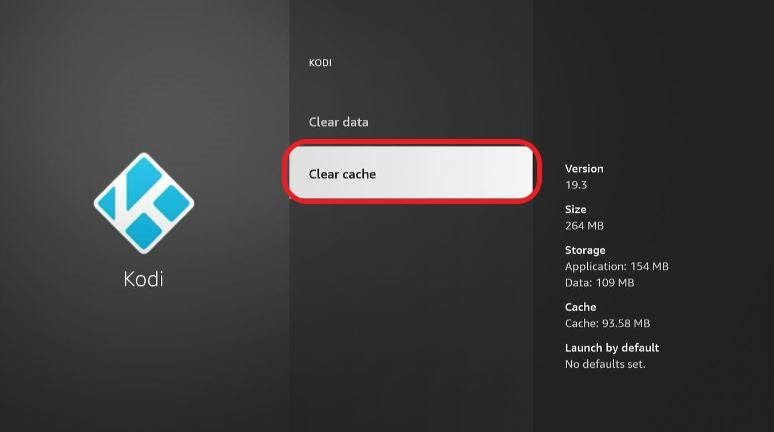
You can do this by clicking on settings. From here, select Applications and then click on Managed Installed Applications. A list of all your installed applications will appear. Click on Kodi and then select Clear Cache.
A Kodi addon is third-party software that is often used to stream movies and TV shows via the Kodi application. Some of the best addons out there are The Crew, Pluto TV, Seren, YouTube, Venom, and Disney Plus.
A Kodi repository is a storage facility for numerous Kodi addons. You need to first install a particular repository to install a Kodi addon.

You need to load content from reCAPTCHA to submit the form. Please note that doing so will share data with third-party providers.
More InformationYou are currently viewing a placeholder content from Turnstile. To access the actual content, click the button below. Please note that doing so will share data with third-party providers.
More InformationYou are currently viewing a placeholder content from Facebook. To access the actual content, click the button below. Please note that doing so will share data with third-party providers.
More InformationYou need to load content from reCAPTCHA to submit the form. Please note that doing so will share data with third-party providers.
More InformationYou are currently viewing a placeholder content from reCAPTCHA. To access the actual content, click the button below. Please note that doing so will share data with third-party providers.
More InformationYou are currently viewing a placeholder content from Instagram. To access the actual content, click the button below. Please note that doing so will share data with third-party providers.
More InformationYou are currently viewing a placeholder content from X. To access the actual content, click the button below. Please note that doing so will share data with third-party providers.
More Information