OpenSubtitles is a top-rated subtitle service for Kodi providing millions of free subtitles in 75+ languages. The best part is it can be integrated easily with Kodi – you can set up captions on pretty much any movie or TV show you are watching on the platform and greatly enhance your home entertainment.
Subtitles can often be the key to enjoying movies and TV shows at home or on the go. Maybe you want to watch your video in low volume to avoid disturbing others, you want to learn a new language, or you simply don’t want to miss anything said in the title you are watching. All these have made subtitles very popular Kodi addons, and nothing gets bigger than OpenSubtitles in this case.
In this guide, we’ll show you how to get subtitles on Kodi with OpenSubtitles in just a few steps. We’ll also look at any issues you may face and help you solve them.
NOTE: We’re assuming that you already have Kodi installed on your device. If not, don’t fret! We’ve written a complete guide on everything you need to know about Kodi and how to make the most of it: How to Use Kodi
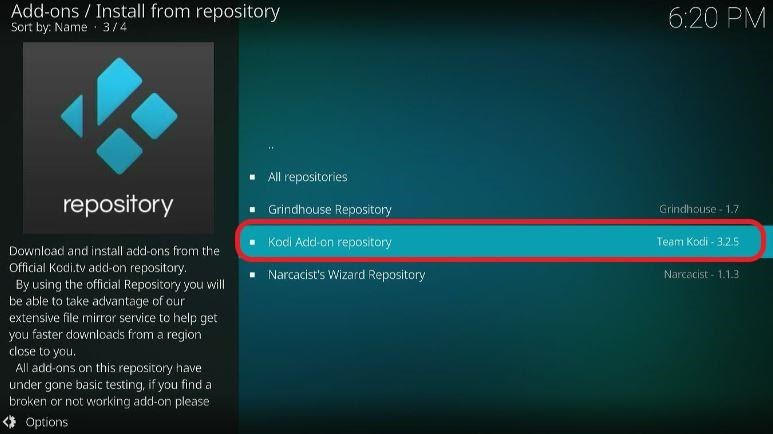
There are several Kodi subtitle services that you can use, but none of them are at the level of OpenSubtitles. On top of that, OpenSubtitles is available on the official Kodi repository, so setting it up is relatively easy.
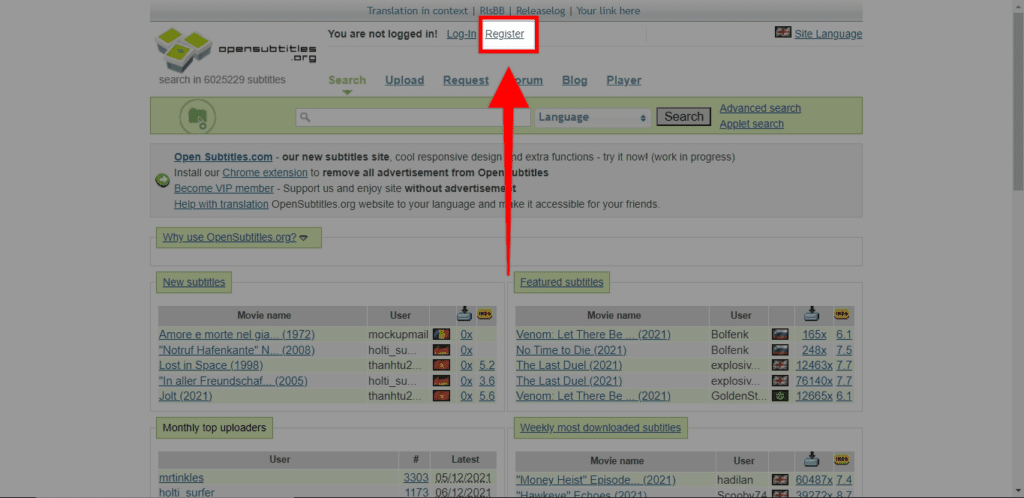
OpenSubtitles is a free service, but you must have a registered account to use it. Here are the steps on how to create one:
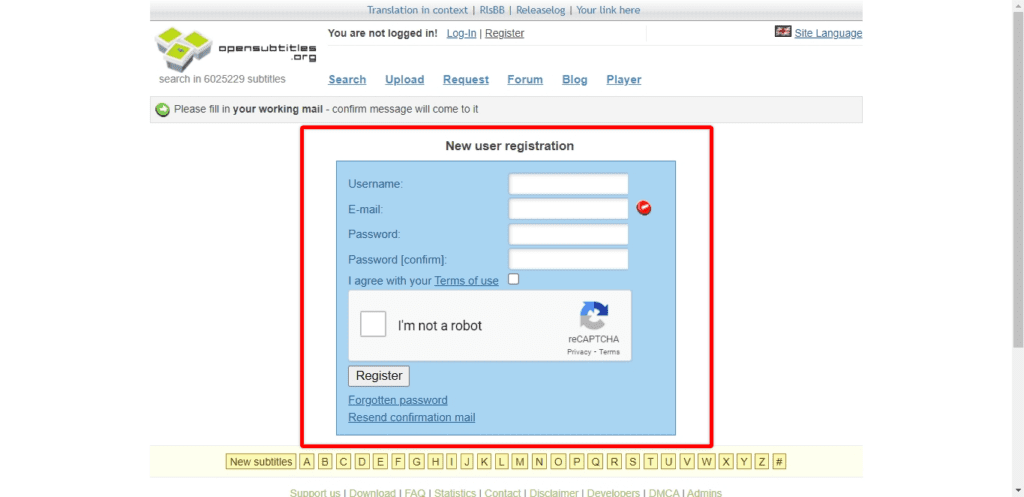
From there, go to your email and click the link you’ll find to activate your account.
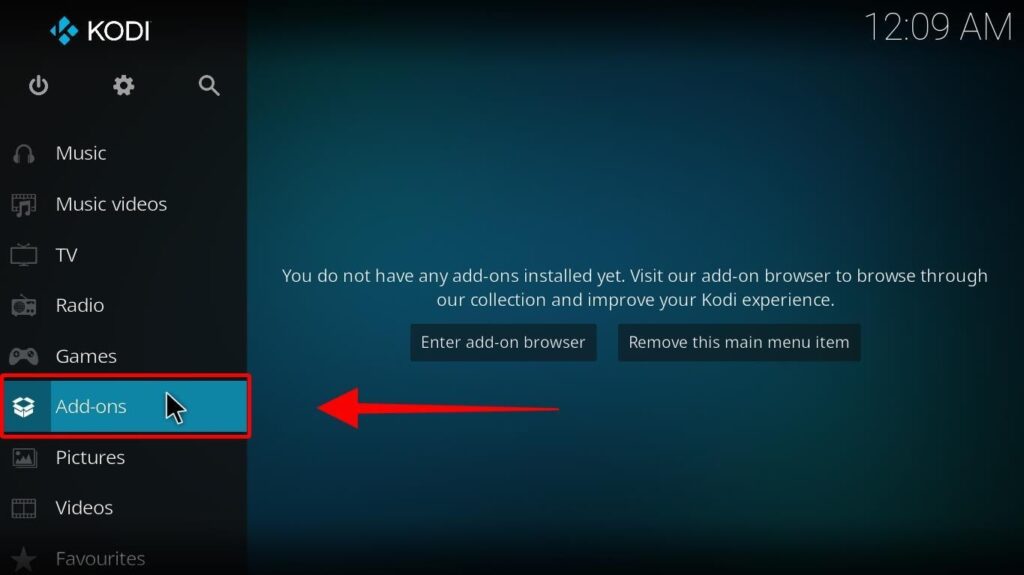
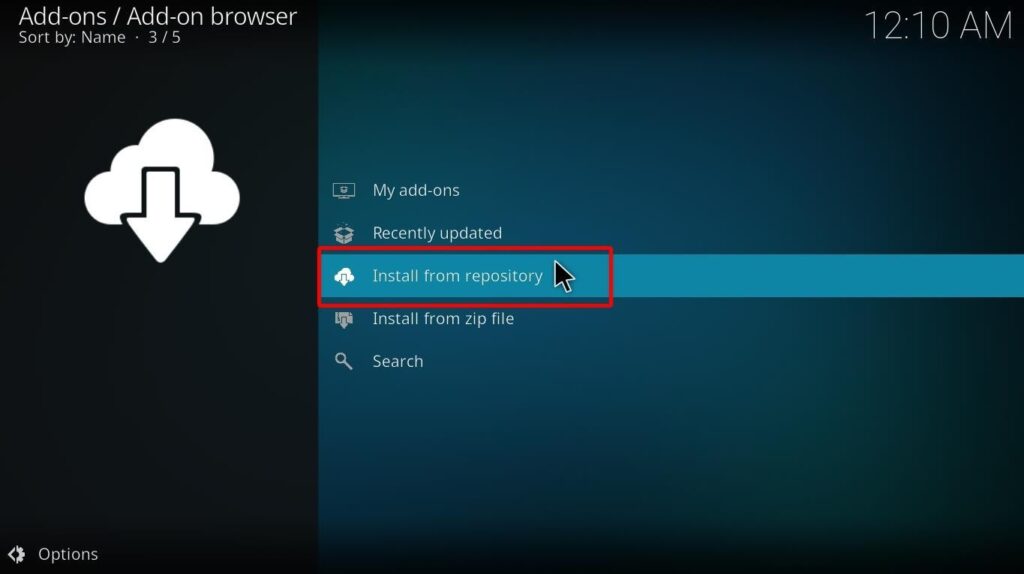
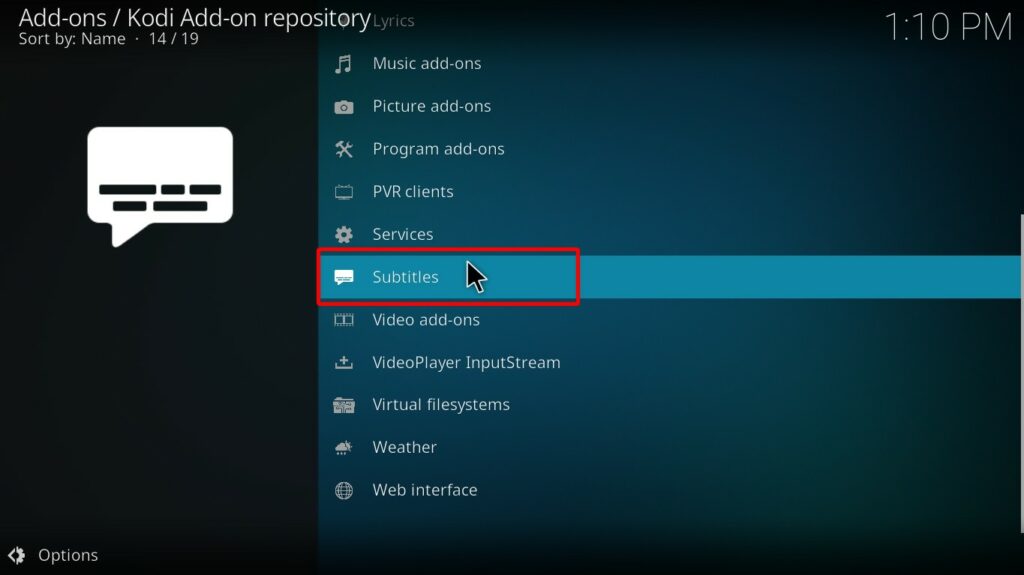
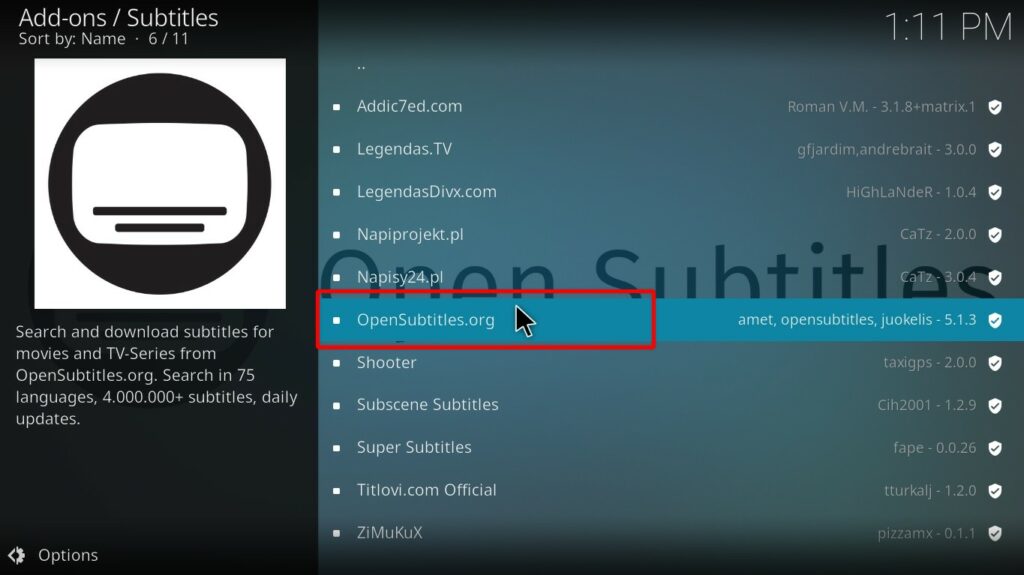
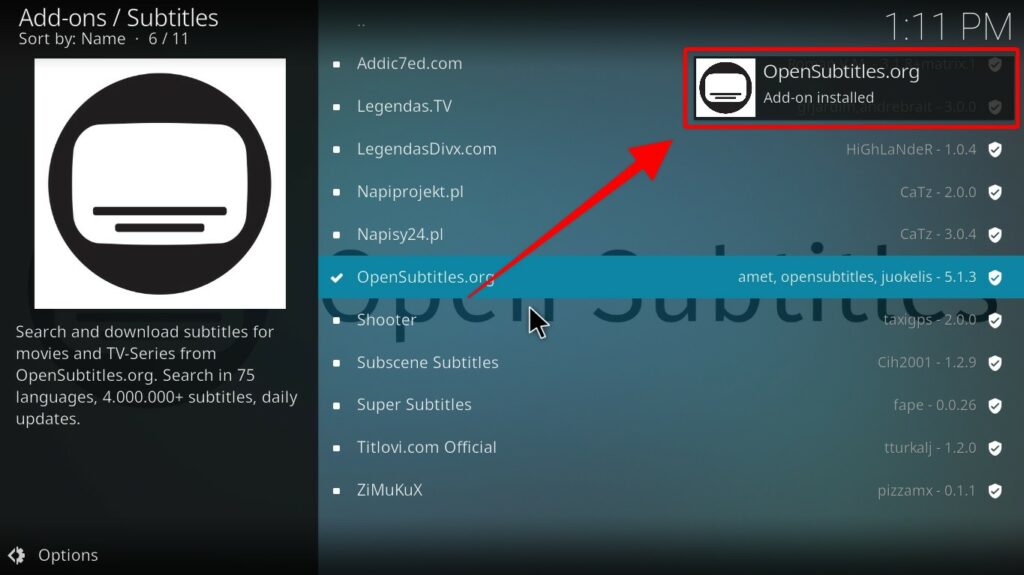
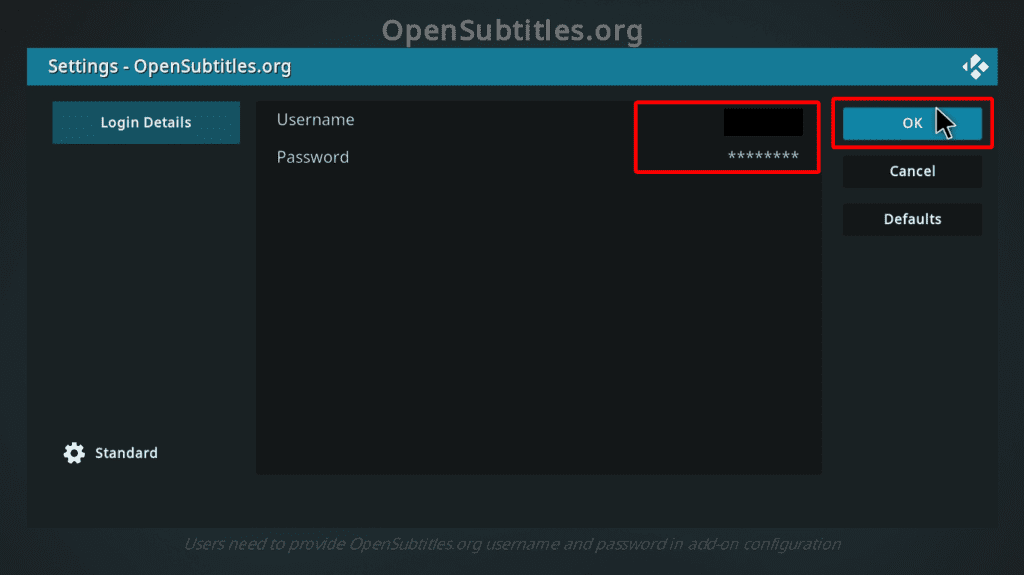
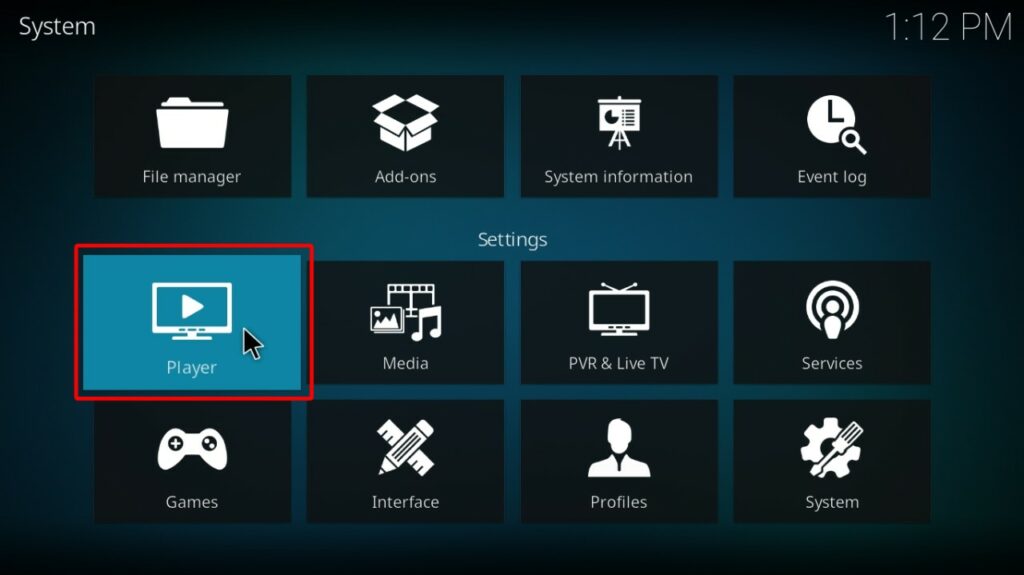
The next step is to install the OpenSubtitles plugin then set up the account we have just created.
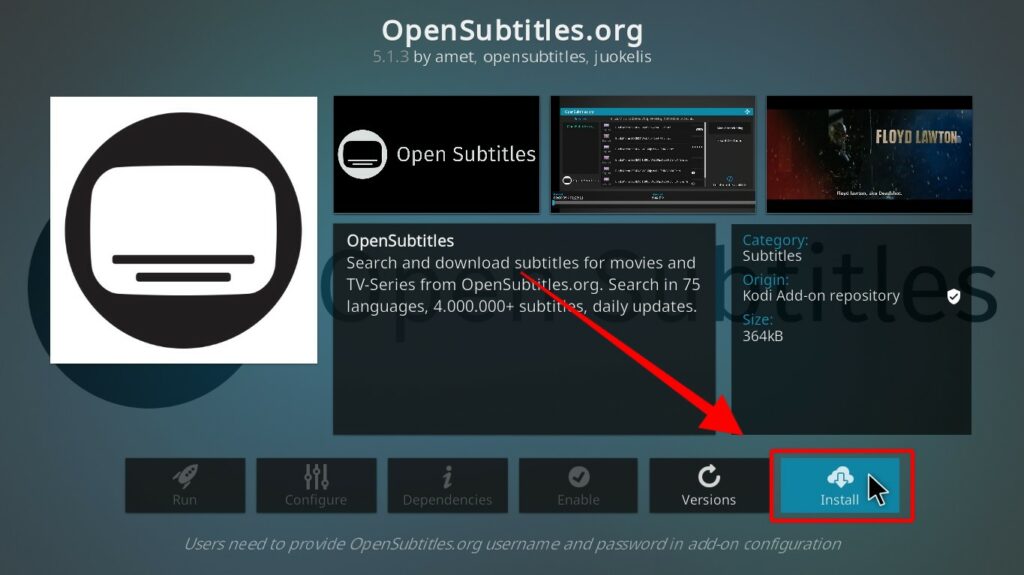
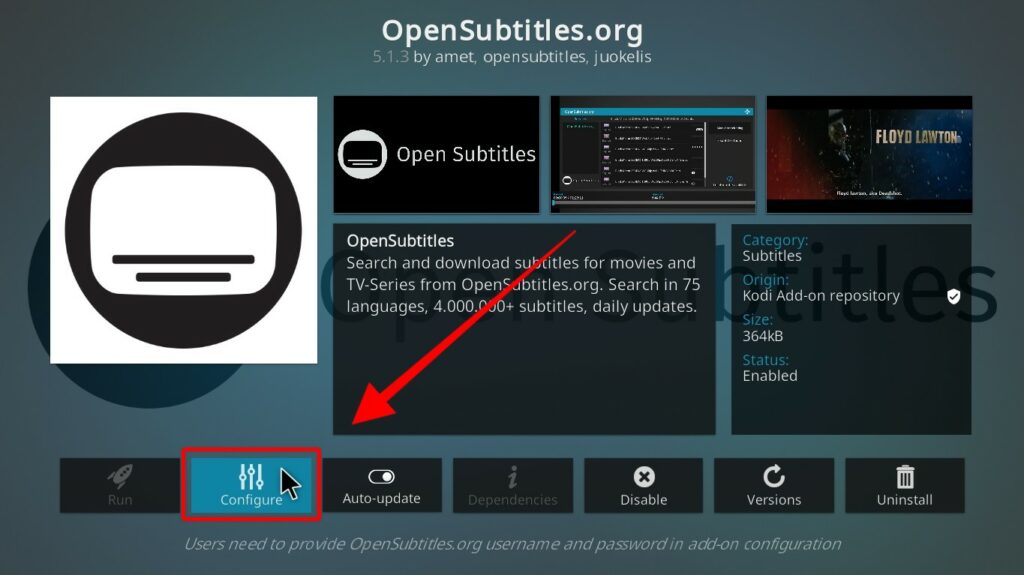
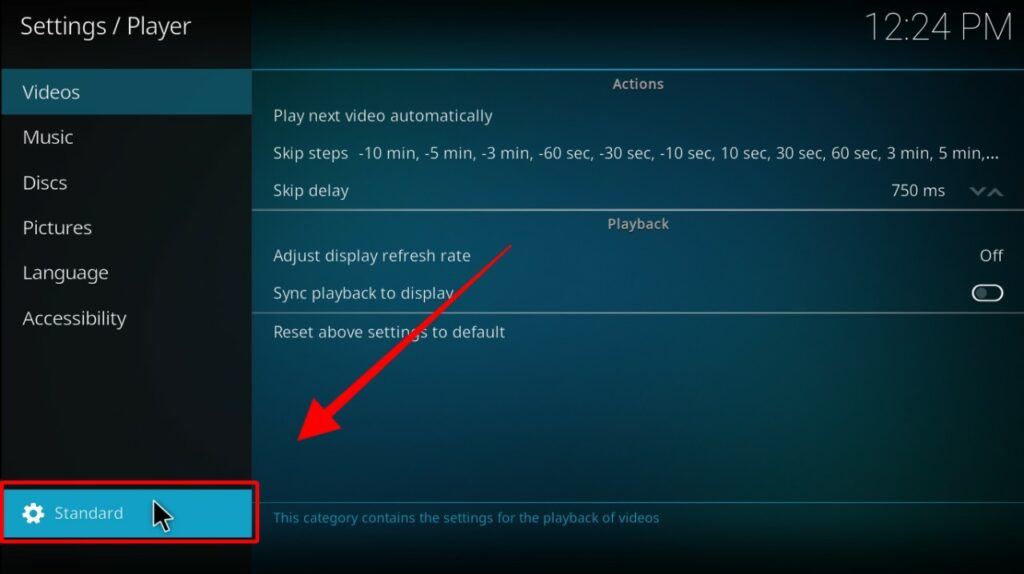
We have now set up OpenSubtitles on Kodi. That’s not all, though, as we still need to do a few more configurations.
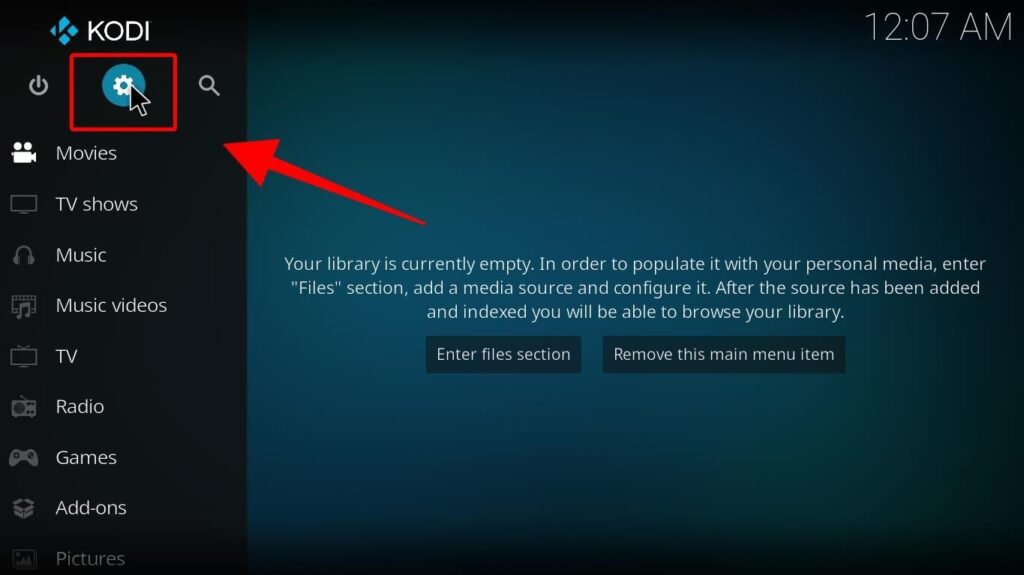
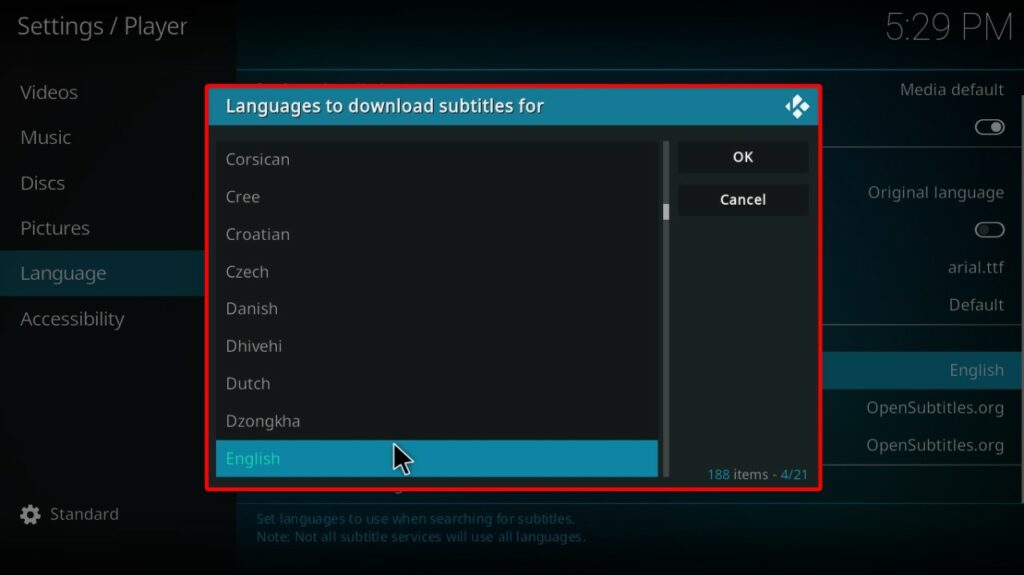
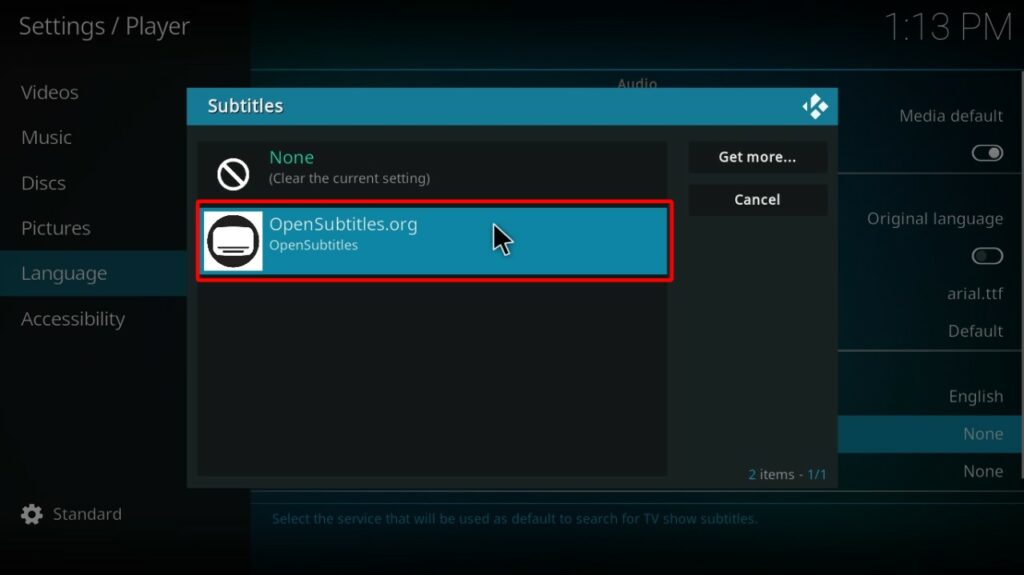
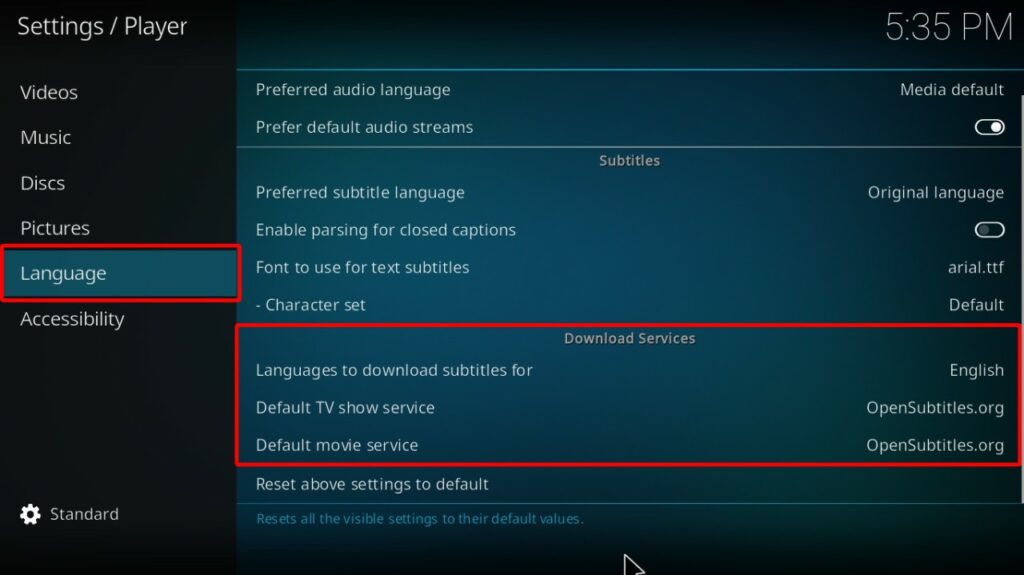
For OpenSubtitles to work seamlessly, we’ll need to set the service’s language to provide subtitles. We’ll also need to set OpenSubtitles as your default Kodi subtitle service.


We’ve now set up OpenSubtitles on Kodi, but you may need to activate the service manually depending on the addon you are using.
Most Kodi addons have the subtitle functionality set to “On” by default, so you should be able to select a subtitle whenever you feel like it.
Go ahead and select a title on any addon you are using. For this part of the guide, we’ll use Oath, one of the best Kodi addons at the moment.
You can activate subtitles on Kodi whenever you play any movie or TV show using the above procedure. However, there are some precautions you need to take to ensure you stay safe while streaming on Kodi.
Despite Kodi being legal software, most third-party addons aren’t. This is because Kodi developers do not host the content provided by their addons. This poses a problem when your ISP monitors your online activities. Worse, they could share this information with your government. On top of that, copyright crackdown is increasingly intensifying in the Kodi world, leading to the defunct of many popular third-party addons and repositories.
Whenever you want to stream on Kodi, we highly advise using ExpressVPN to protect yourself online. The VPN encrypts online activities using the AES-256 standard to guarantee that nobody can tell what you are doing. It also keeps an audited zero-logs policy to ensure that your data will always remain private.
Here’s how you can use ExpressVPN to stay safe when streaming.
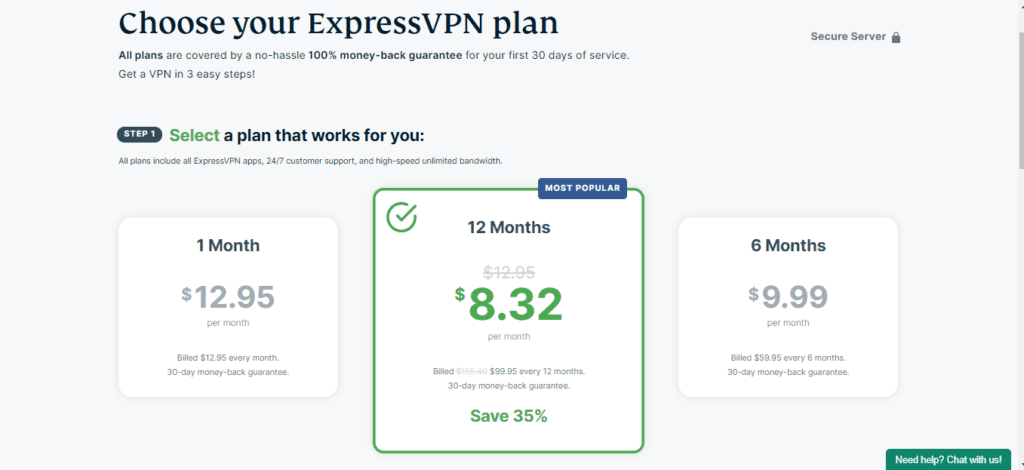
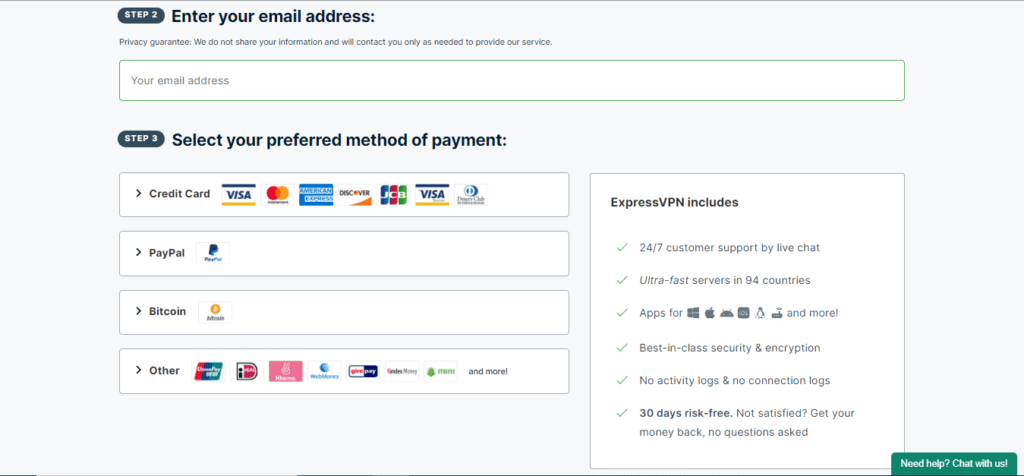
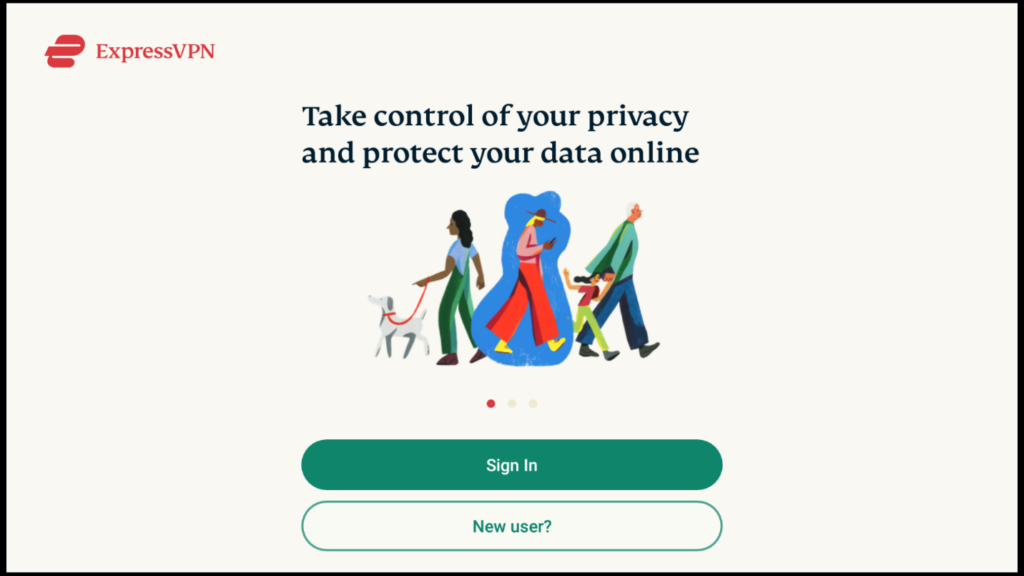
You first need to create an account with the VPN to get started. This should only take about 2 minutes.
ExpressVPN provides apps for almost all popular platforms that support Kodi.
You can download the VPN app from the ExpressVPN website and install it like any other app on most of these devices. It is also available in all official stores.
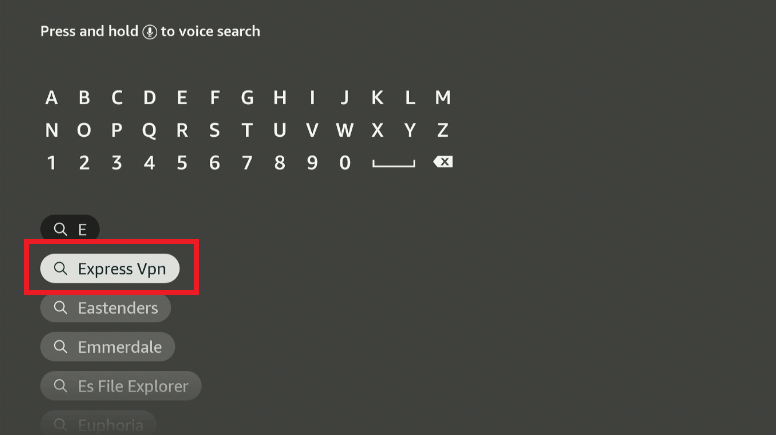
Follow these steps to install ExpressVPN on your Firestick:
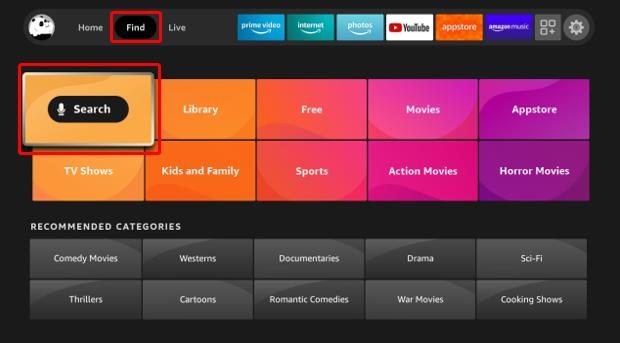

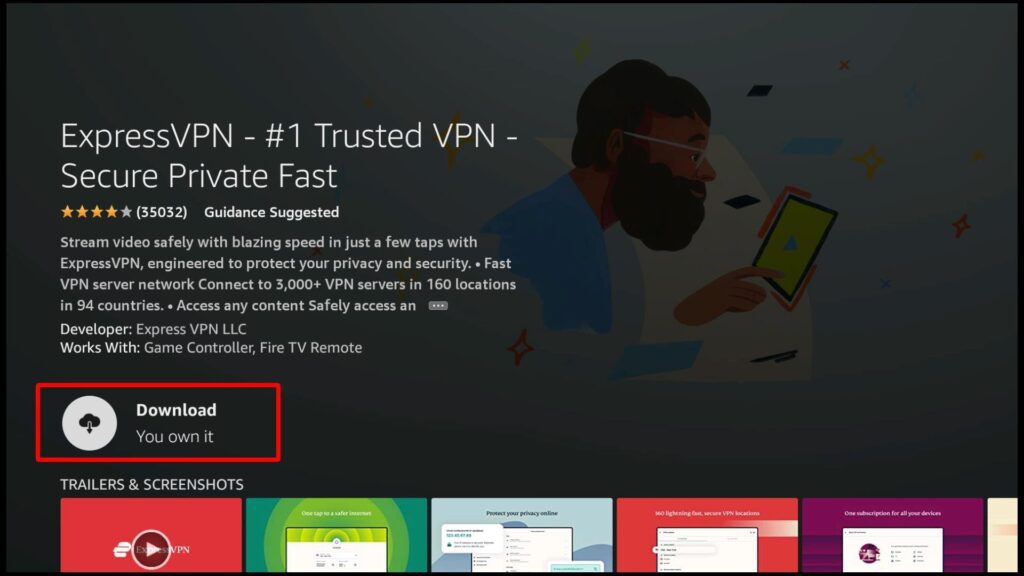
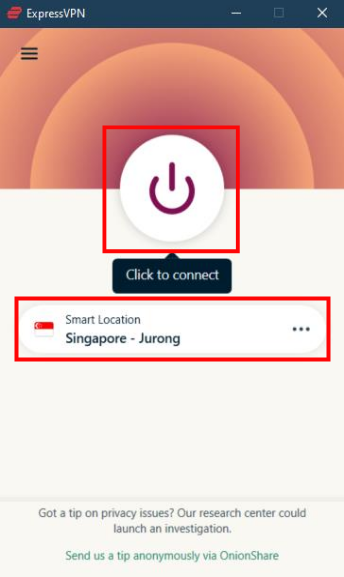
Click Open to launch the app or start it from the Apps & Games section.
After that:
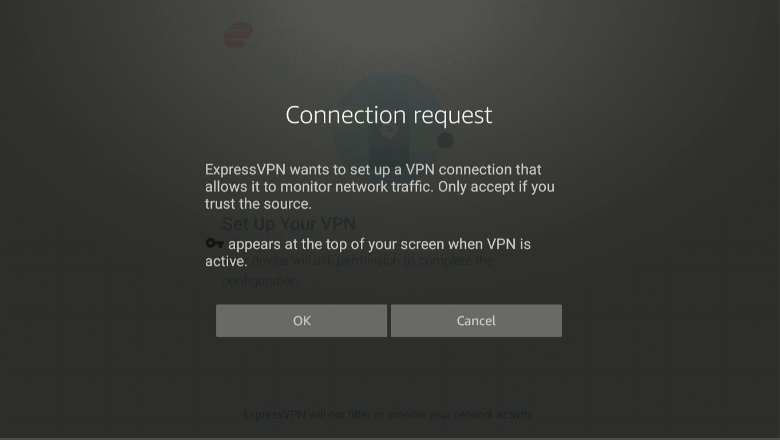
To select a specific server, click on the chosen server, and you’ll see the entire server list. ExpressVPN offers 3,000+ servers spread across 160 locations in 94 countries.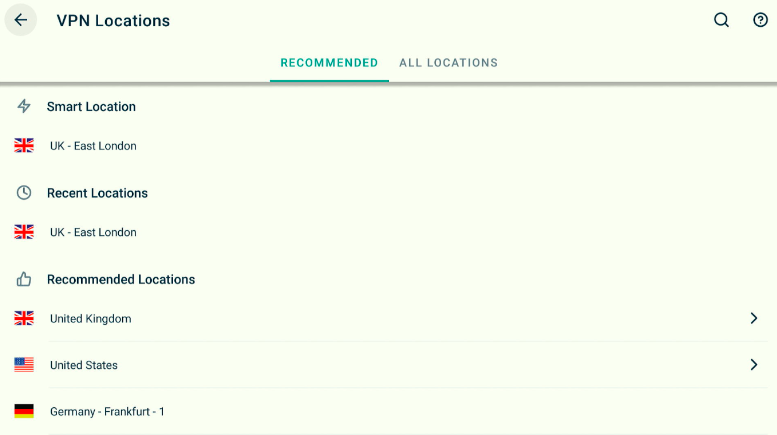
You can also customize your connection by going to the Settings page. To do so, click the hamburger menu on the top left side, then select Settings. This will give you options such as Auto-connection, Kill Switch, Split Tunneling, Protocol Selection, and Shortcuts.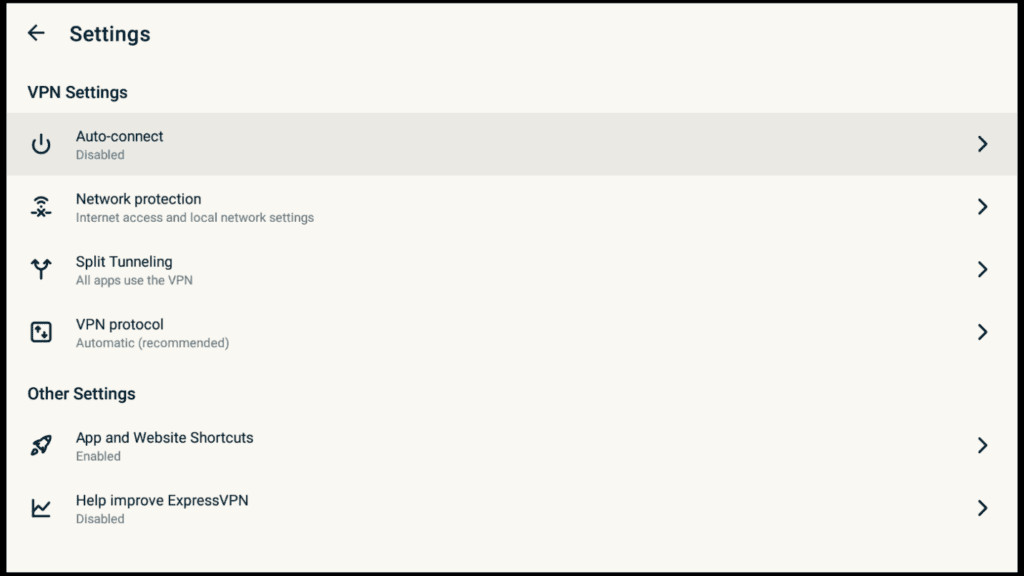
After that, go back and select a server or click the connection button on the main page. ExpressVPN will then connect. You can now open Kodi (you can set it up as a shortcut as shown below) and start streaming safely!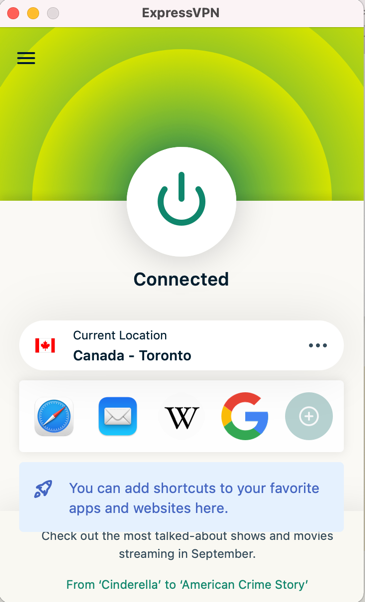
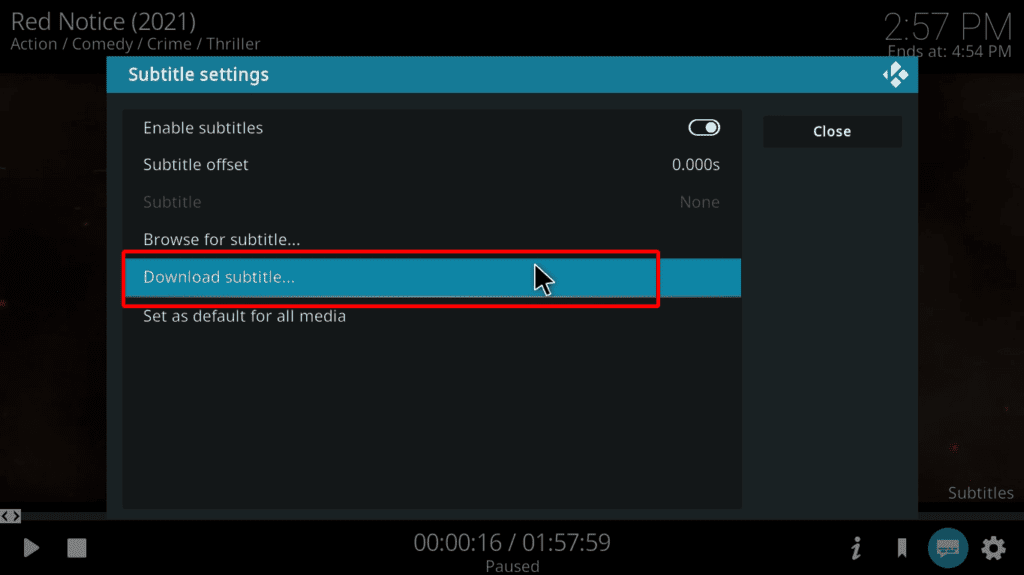
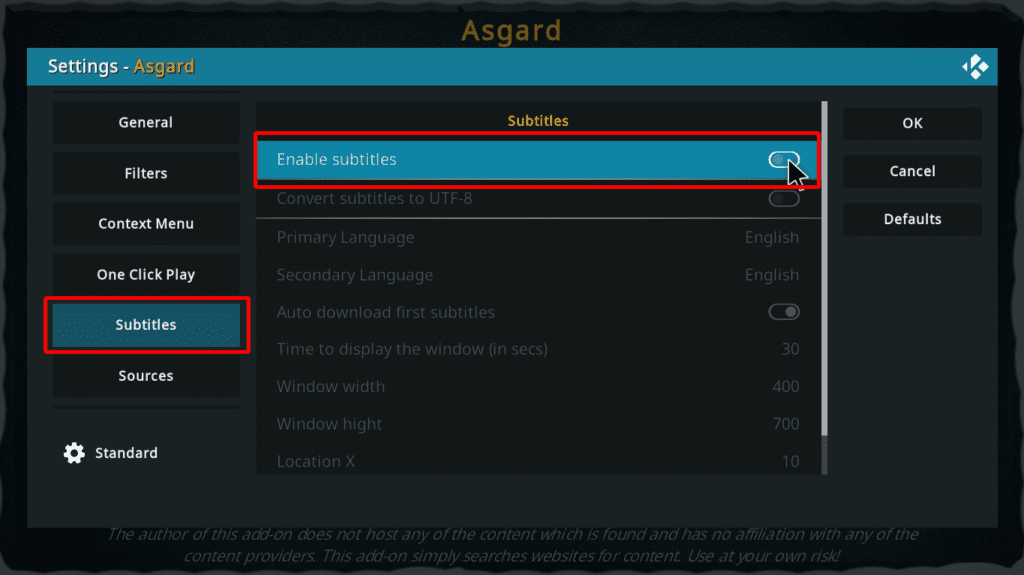
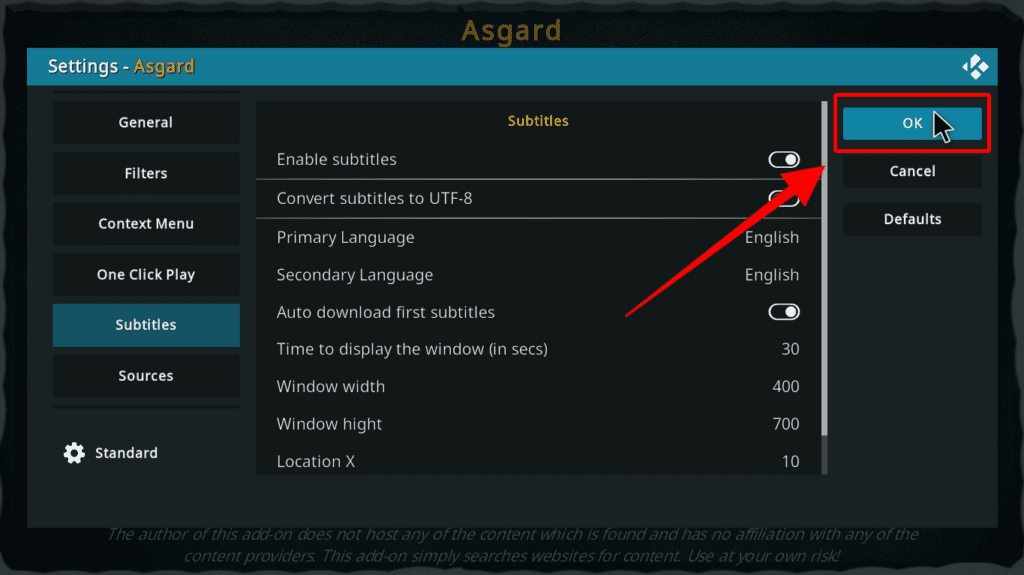
If OpenSubtitles is not working, this is probably because the addon you are using requires manual activation of subtitles. One such addon is Asgard, and we’ll use it to show you how to activate OpenSubtitles manually. This should only take a minute.
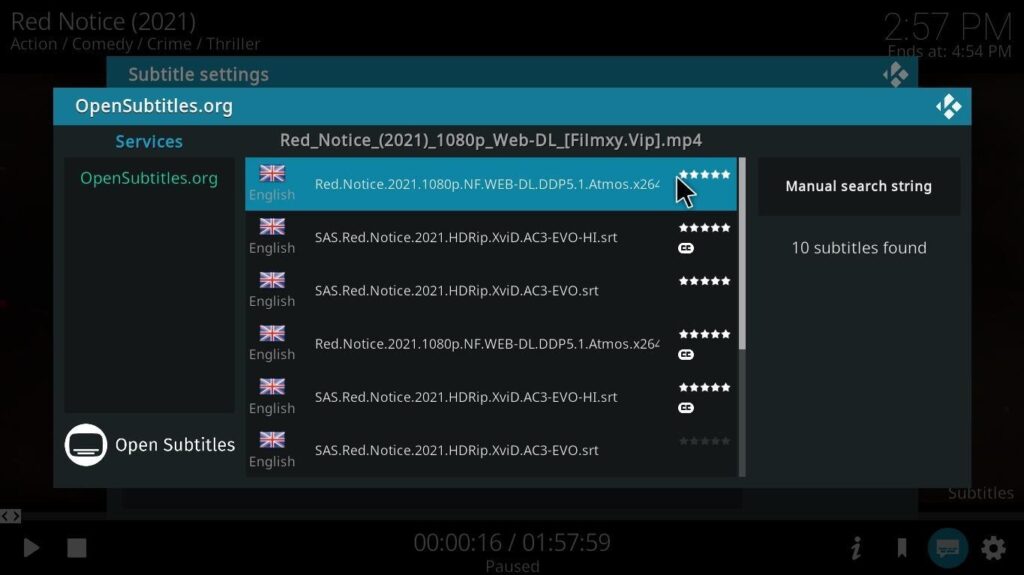
Now, go back and select a title. Before you even start watching it, you’ll get several of the top subtitles. 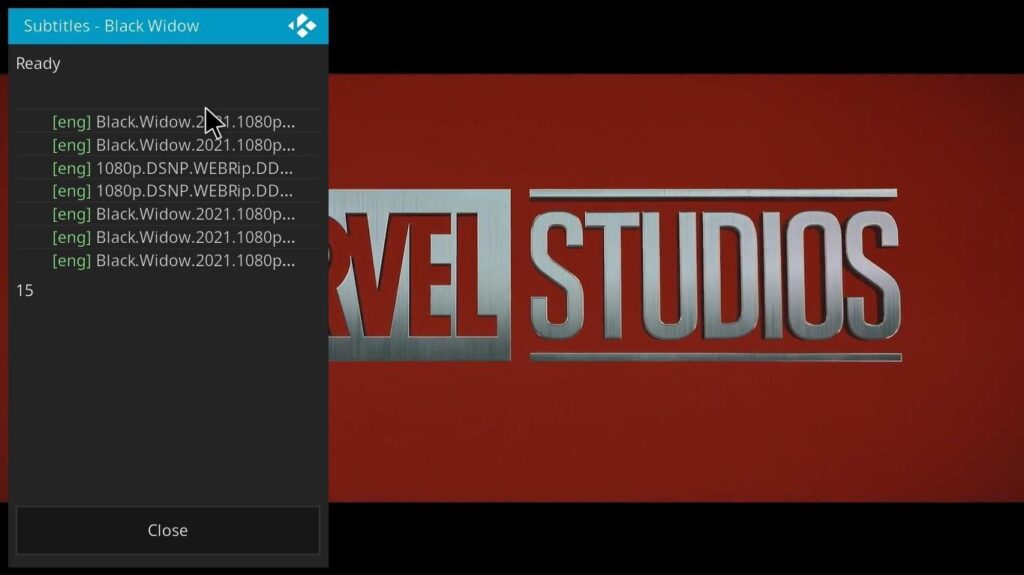
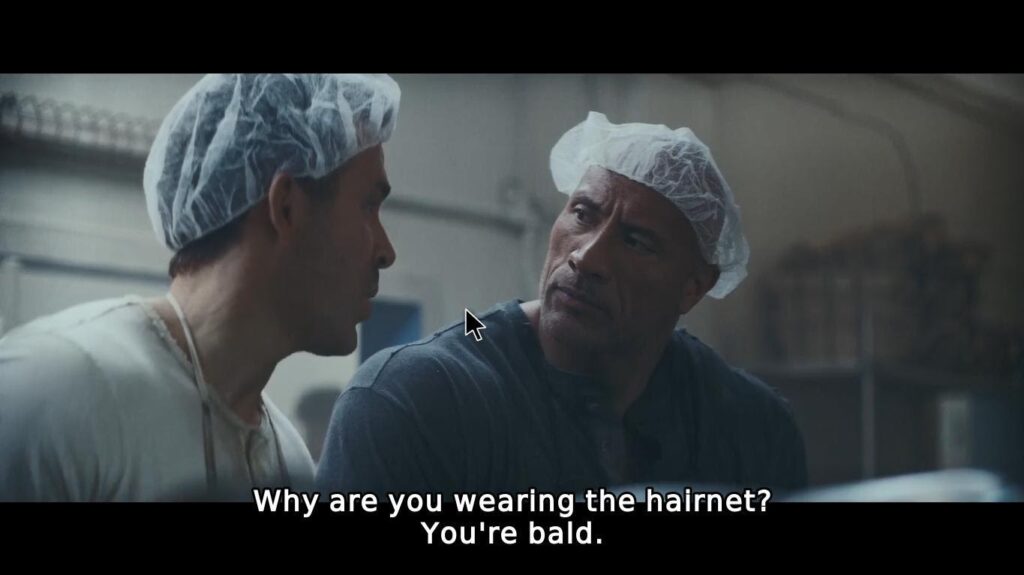
Choose the first one (preferably) or the best match, depending on the video name. Enjoy streaming with subtitles!
OpenSubtitles can greatly enhance your streaming experience by ensuring that no sentence goes past you, and it’s especially helpful on Kodi as the sound may sometimes not be high-quality. The guide above takes you through the entire process of setting up OpenSubtitles to activate subtitles on Kodi, with a walkthrough on installing the best Kodi VPN for that extra layer of online protection and streaming quality. These should help you regardless of the device you are using. Enjoy!

You need to load content from reCAPTCHA to submit the form. Please note that doing so will share data with third-party providers.
More InformationYou are currently viewing a placeholder content from Turnstile. To access the actual content, click the button below. Please note that doing so will share data with third-party providers.
More InformationYou are currently viewing a placeholder content from Facebook. To access the actual content, click the button below. Please note that doing so will share data with third-party providers.
More InformationYou need to load content from reCAPTCHA to submit the form. Please note that doing so will share data with third-party providers.
More InformationYou are currently viewing a placeholder content from reCAPTCHA. To access the actual content, click the button below. Please note that doing so will share data with third-party providers.
More InformationYou are currently viewing a placeholder content from Instagram. To access the actual content, click the button below. Please note that doing so will share data with third-party providers.
More InformationYou are currently viewing a placeholder content from X. To access the actual content, click the button below. Please note that doing so will share data with third-party providers.
More Information