In this stepwise tutorial, you will learn in detail how you can install Maze Kodi builds on Firestick. The method also works on various other devices, such as Android TV, Windows, Mac, iOS and Android smartphones, Raspberry Pie, Linux Computers, and more.
You will be able to find the Maze Kodi build within Maze Wizard. It comes with numerous interesting customizable builds. Based on preference, you can even choose which build you wish to install and use.
Maze is among the best Kodi builds which Maze Wizard offers. It also brings you pre-installed addons, including Death Star and Venom, to name a few.
Thus, without further ado, let’s dive headfirst into our detailed tutorial on how you can install Maze Kodi builds on your Amazon Fire TV Stick device.
Since Maze builds is a 3rd-party app, you will first need to grant permission by heading to the Settings menu within Kodi.
We’ll show you how to do that before we get started with the installation process.
Step 1: Open Kodi on your Firestick.
Step 2: When you’re in the main menu, click on Settings. It’s the icon on the upper left section of the menu interface. 
Step 3: The Settings menu will appear. Navigate for the Systems icon and browse it. 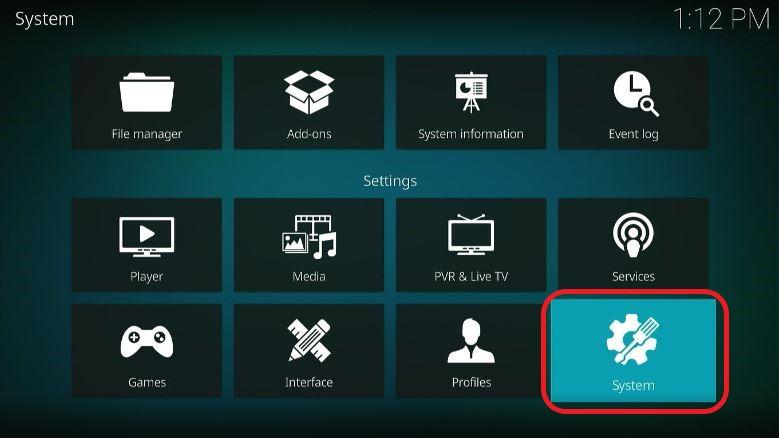
Step 4: A new menu will emerge on the screen. On the left menu, hit on Add-ons 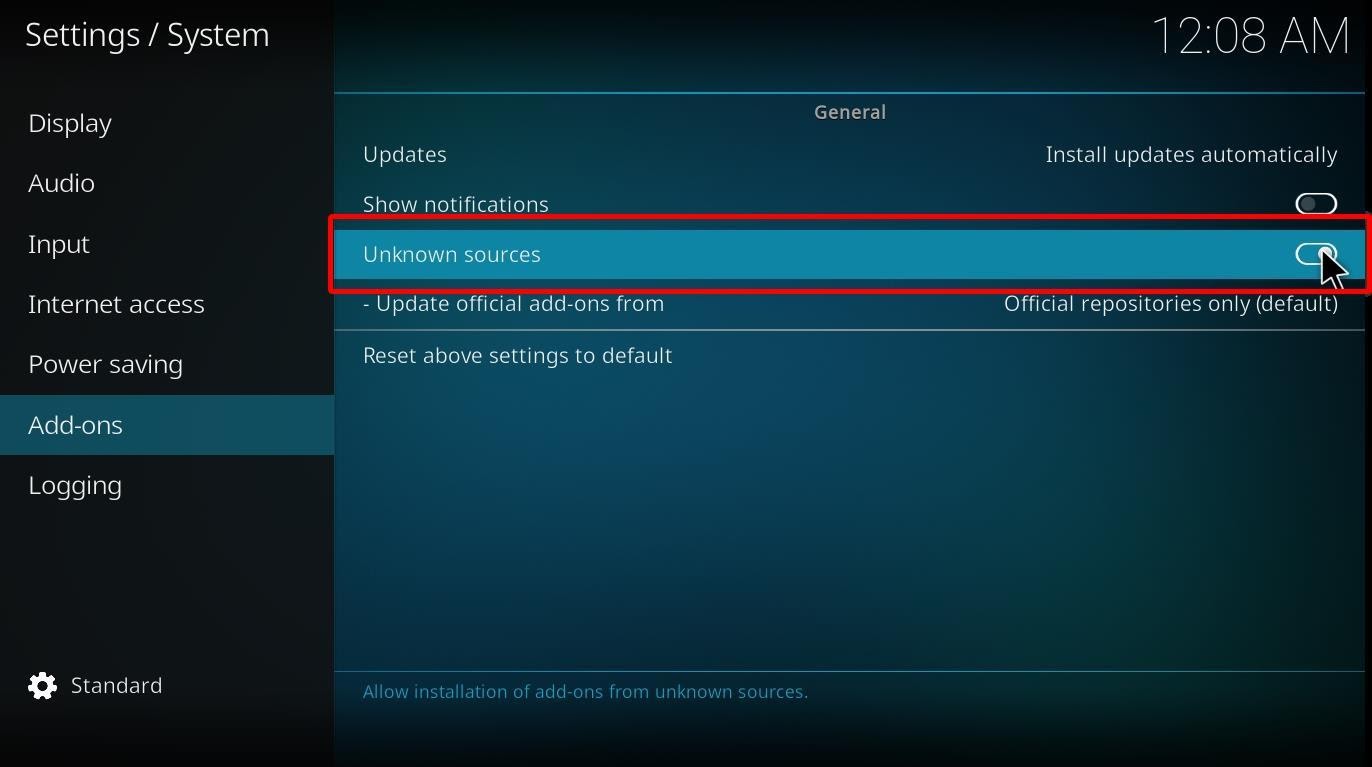
Step 5: Look at the right section of the page; you’ll find multiple options displayed on it.
The “Unknown Sources” option is off by default. Hit on the toggle box to turn it on.
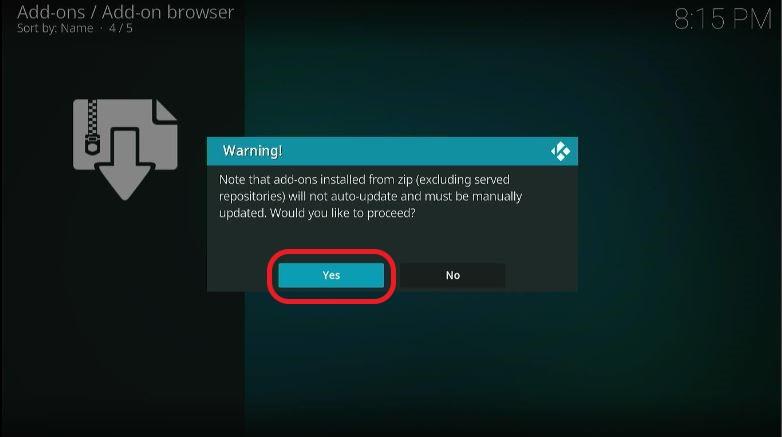
Step 6: A warning menu will pop up on the screen. Select Yes to finish the process.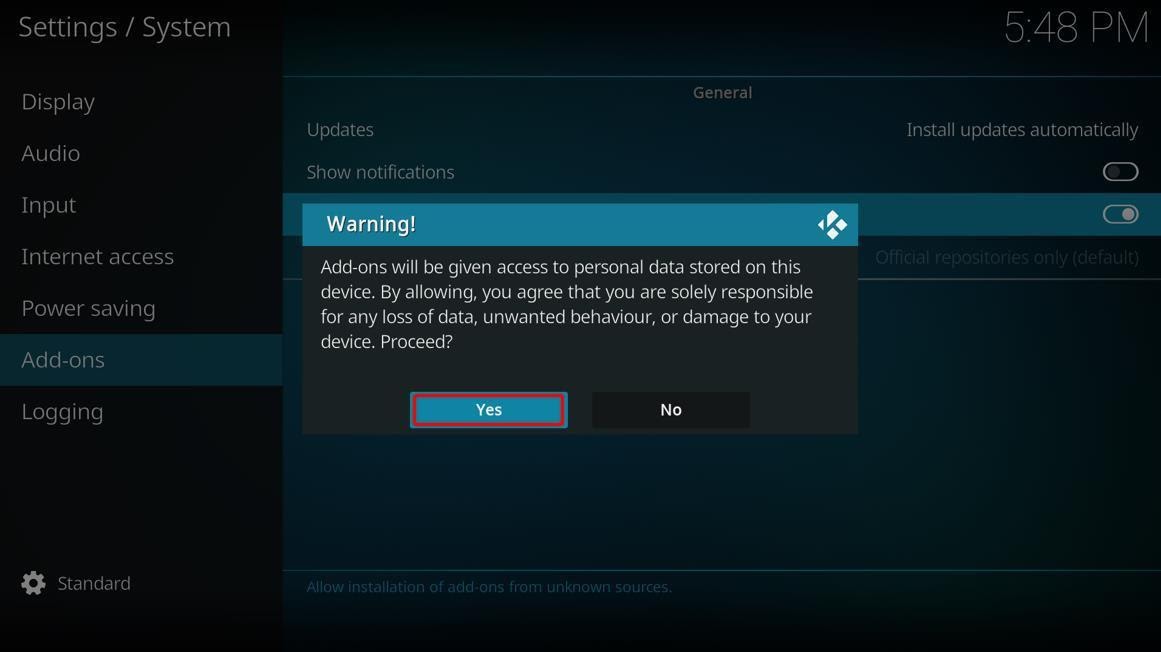
Let us learn how you can install the builds on your Firestick.
Step 1: Launch Kodi on your Firestick.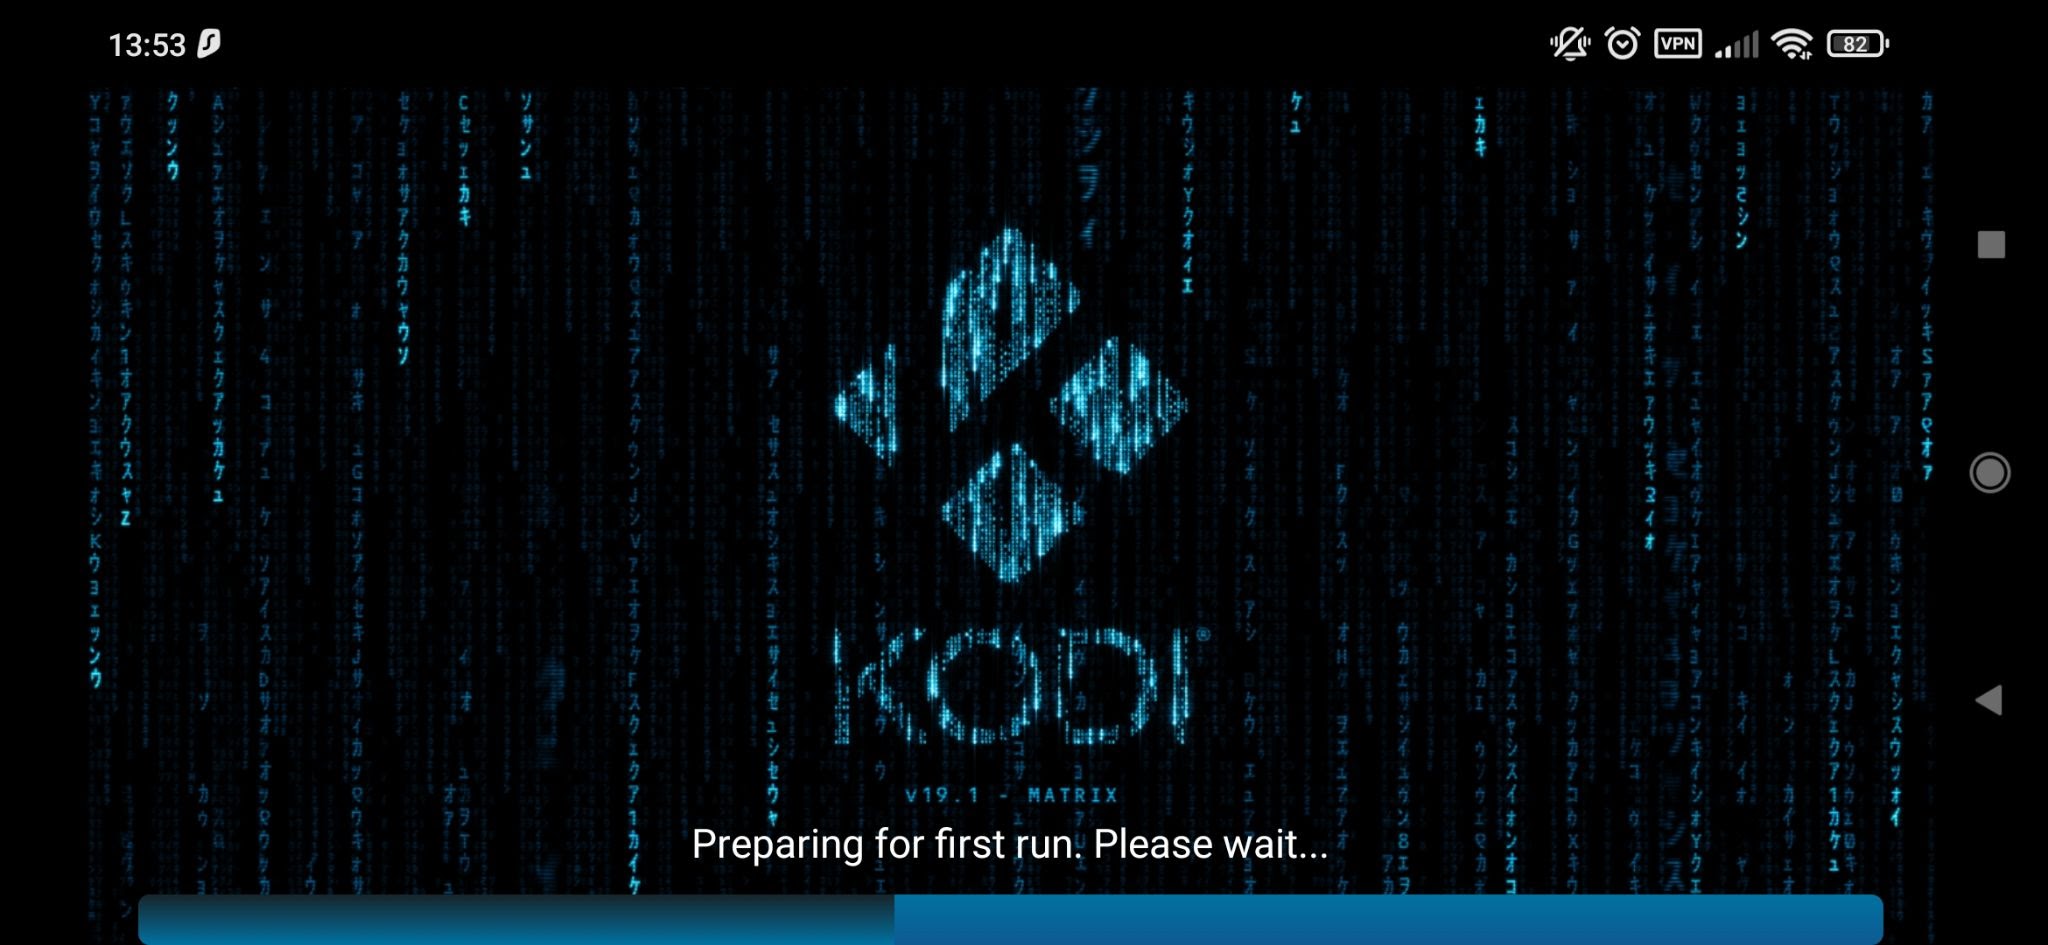
Step 2: Look for a Settings icon in the upper left section of the home screen. Click it. 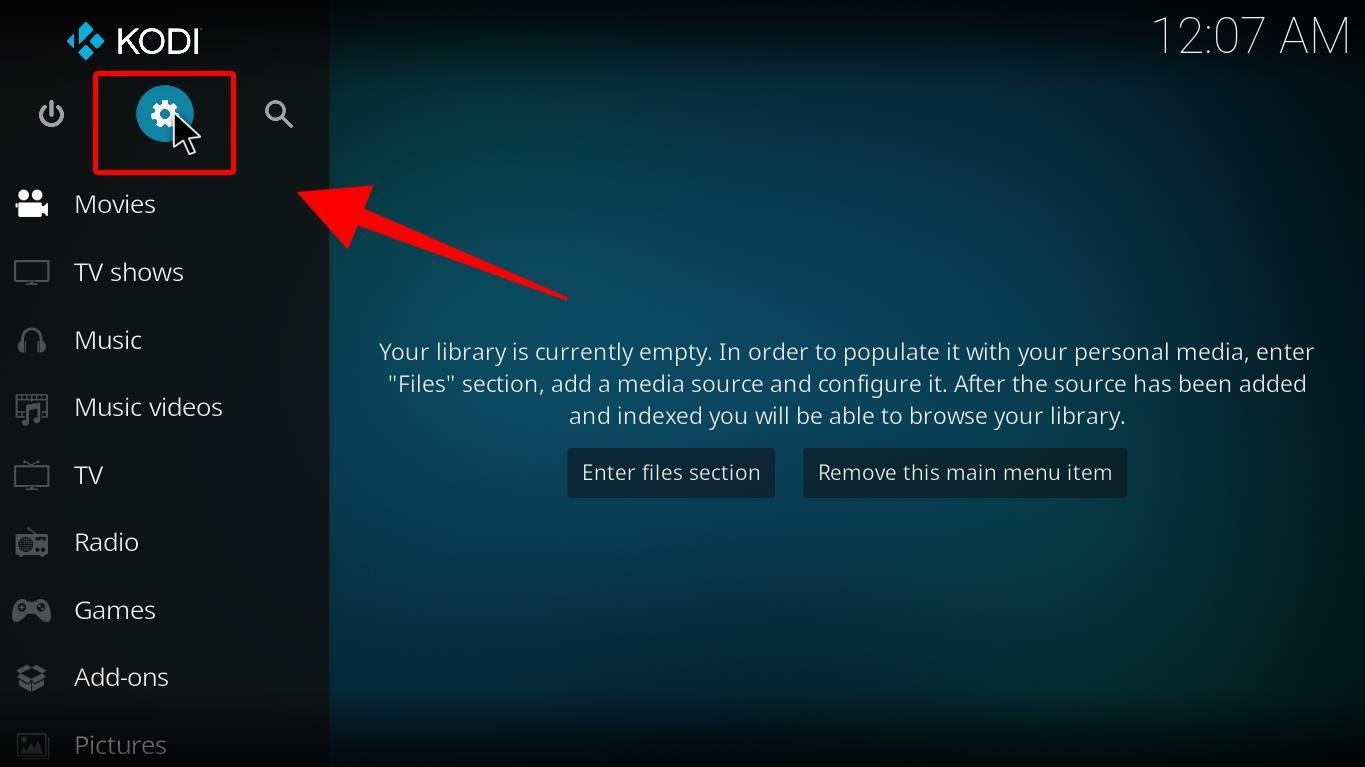
Step 3: A new window will open. Pick “File Manager.”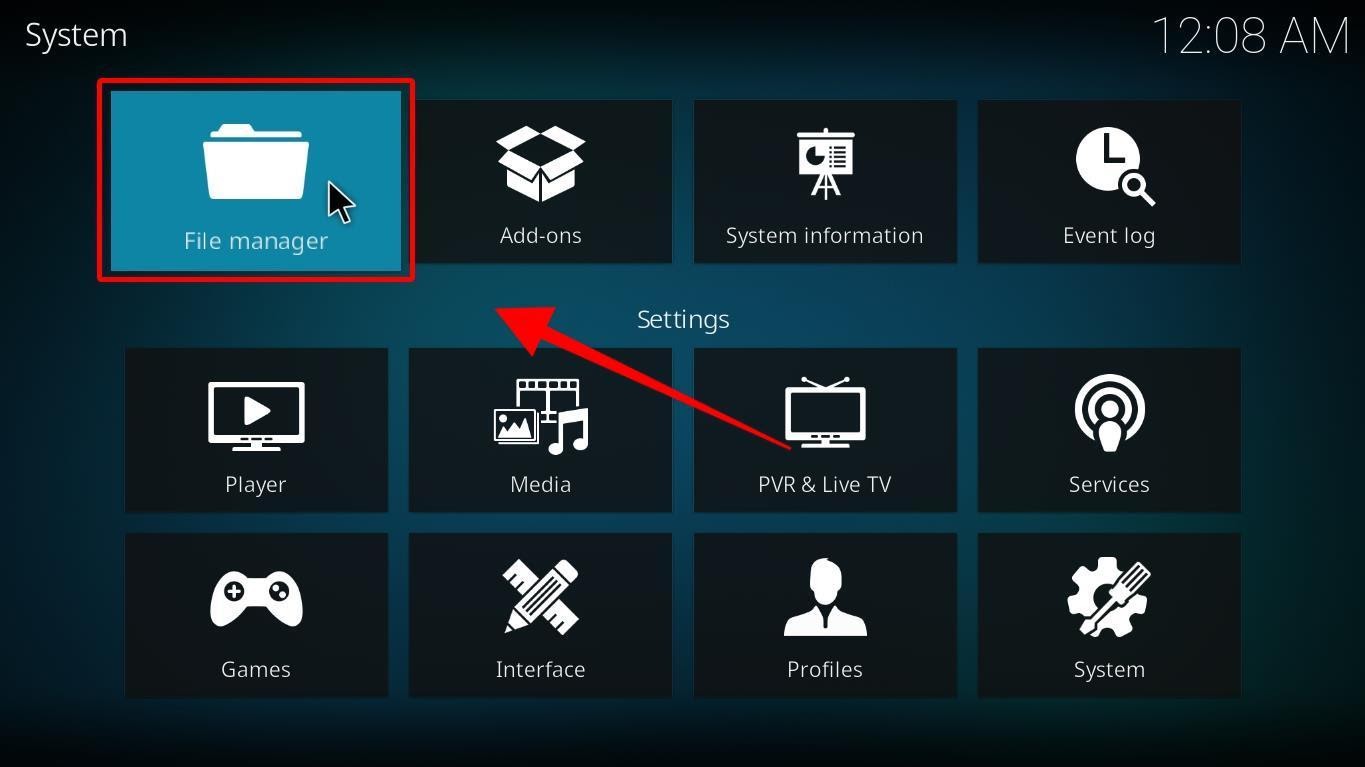
Step 4: Tap on “Add Source.”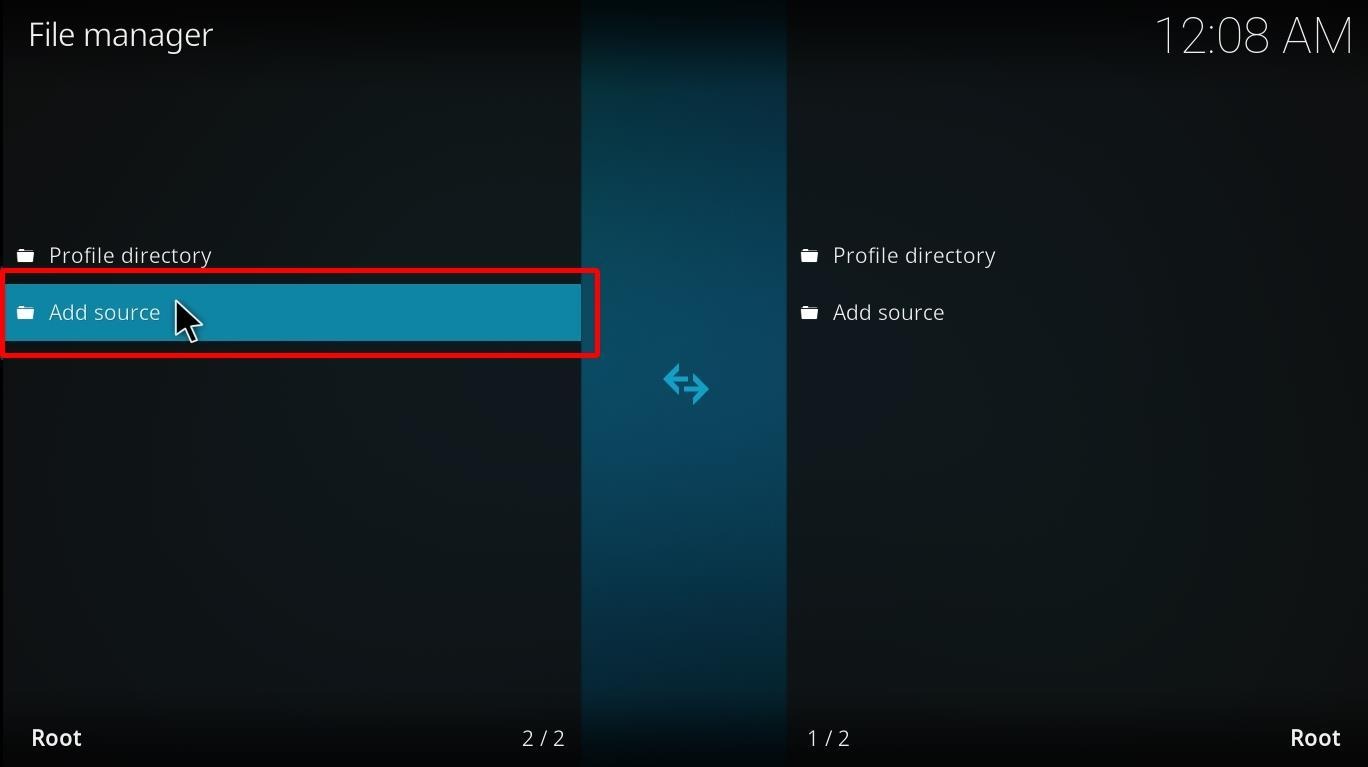
You can pick either side; it doesn’t matter.
Step 5: The interface will show a prompt window.
On the Add File Source window, press “<None>.” Another resource will replace it later.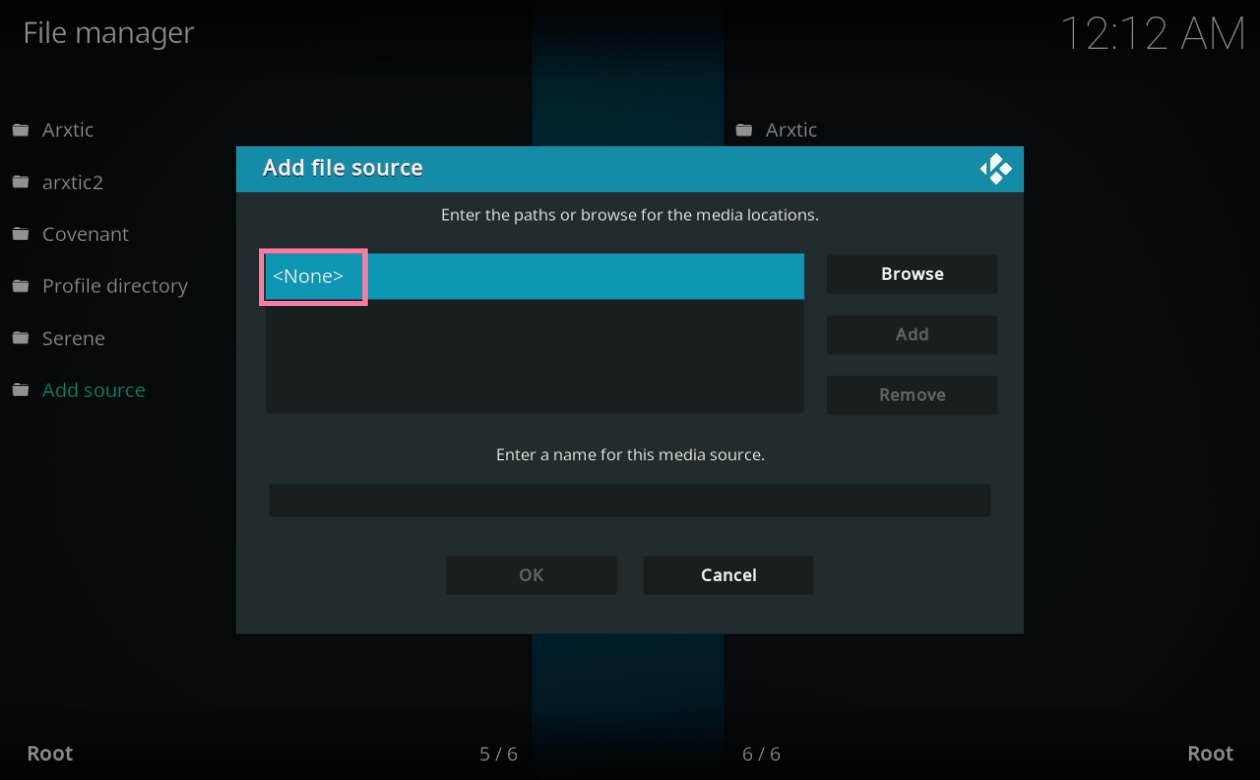
Step 6: You will see a new menu window.
In this window, type http://mazeBuilds.co.uk/repo in the given space. Choose “Ok.”
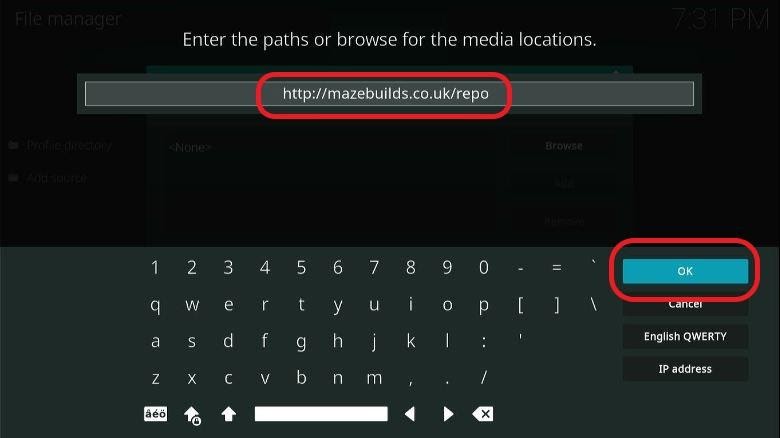 You have to be very cautious when you enter the source path. There should be no typos. Typos will result in an error with the installation steps later.
Step 7: Now, you’ll need to name the above-added URL.
Let’s name it Maze, keeping it simple and easy to remember.
You’re free to put any name. But make sure that it’s a name that you’ll be able to identify.
Step 8: Hit “Ok.”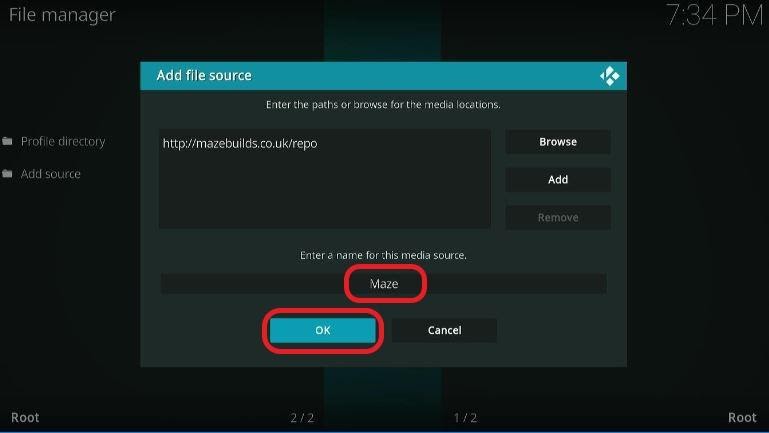
Step 9: Go back to Settings. Press the back key on your Firestick remote.
Step 10: Now Select “Add ons.” 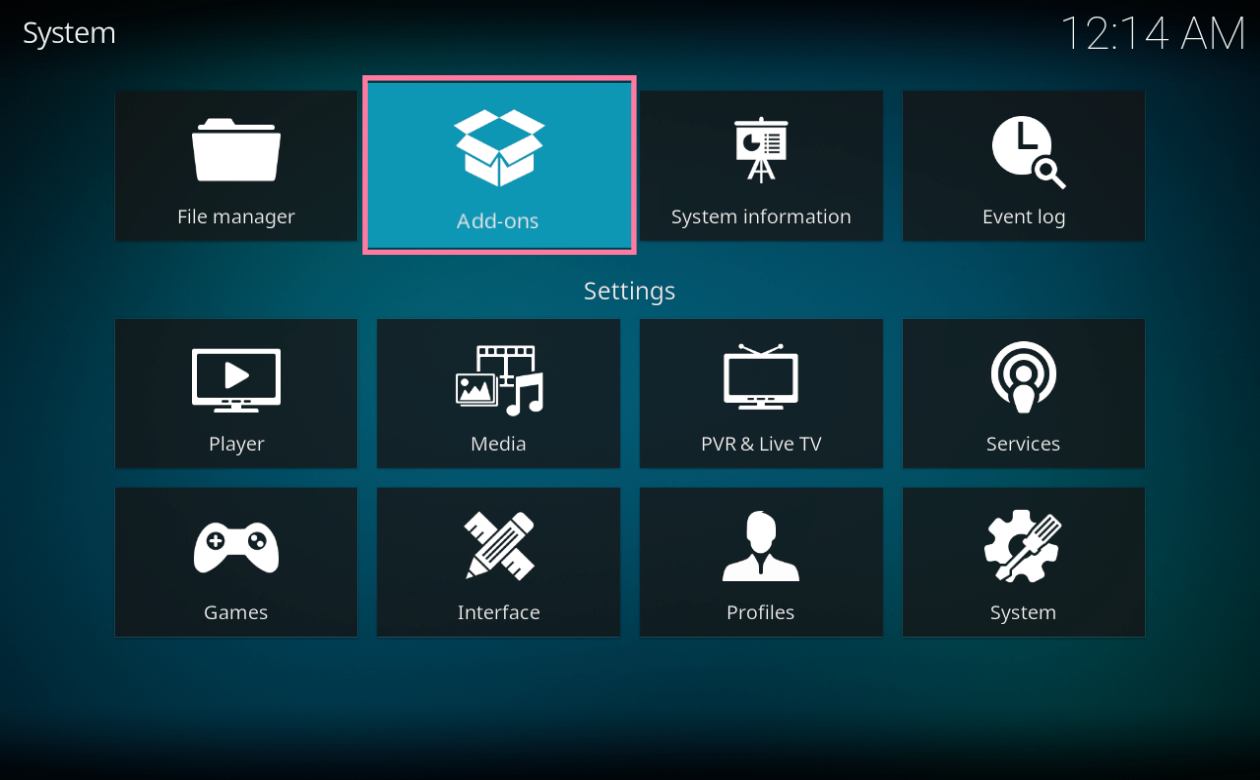
Step 11: When a new window shows up. Choose the fourth option from above, which is the “Install from zip file.”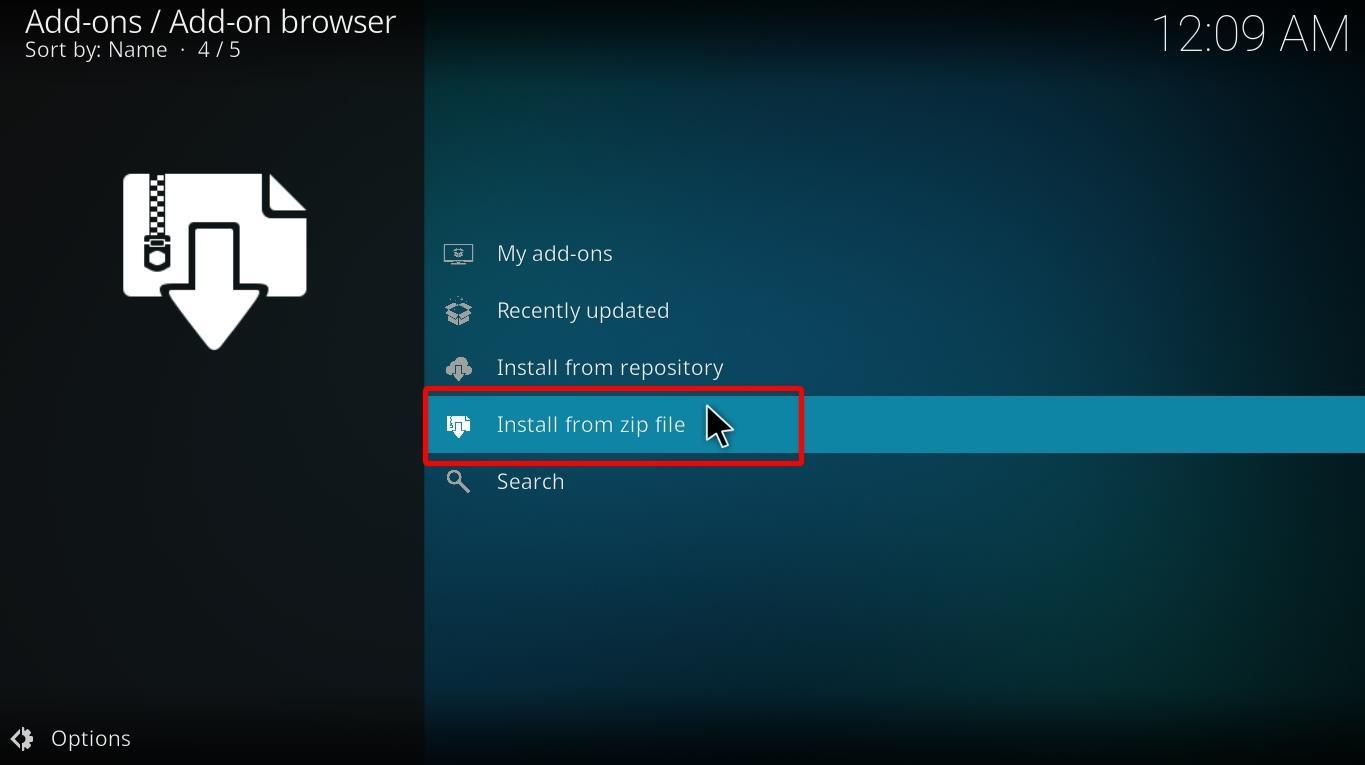
 Step 12: An “Install from zip file” window will pop up on the screen.
Search for the source (the name that you used earlier). Click on it.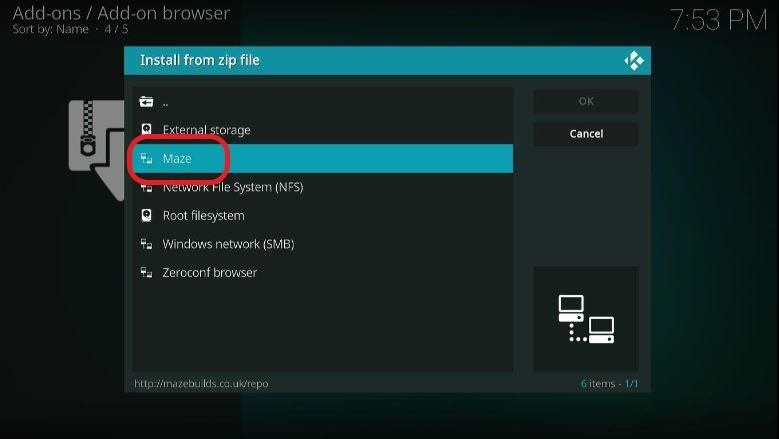
Step 13: After clicking on it, you’ll see new folders on a new popup window.
Search and click on the folder titled “repository.maze.”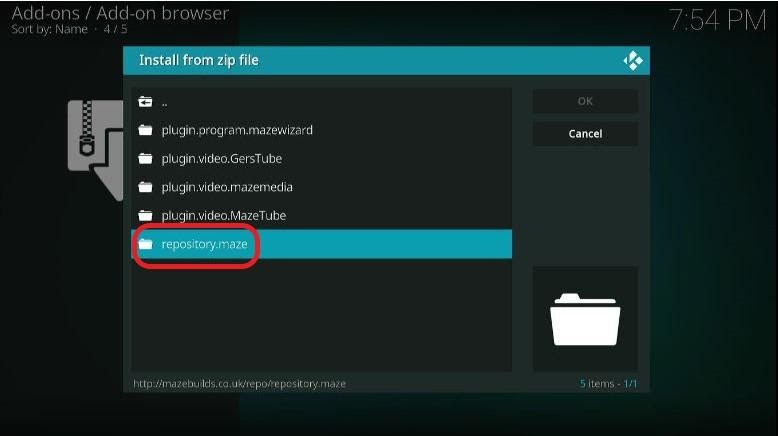
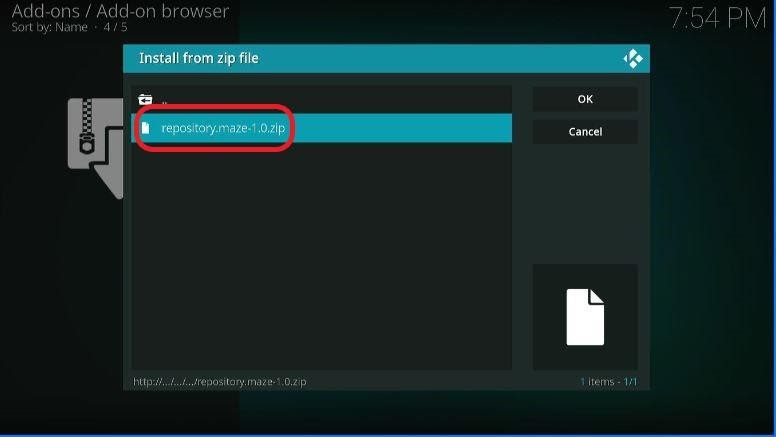 Step 14: Install the file by clicking on it.
Wait for the installation to get over. The “Maze Repository Add-on installed” message will appear on your screen. 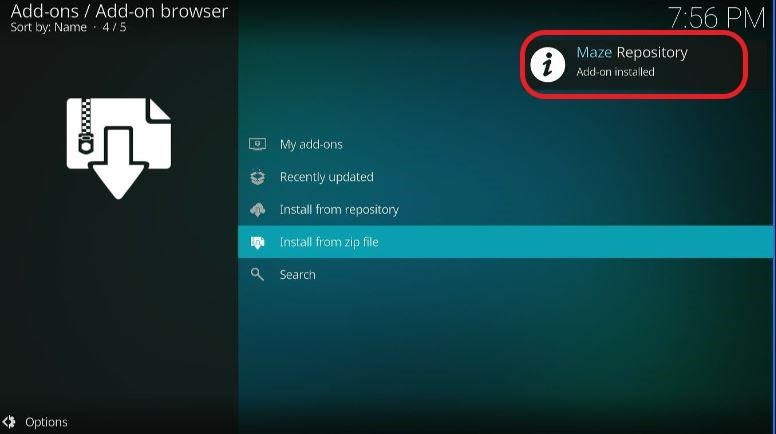
Step 15: On the same window where “Install from zip file” was located, you’ll be able to find “Install for repository.” Click on it. 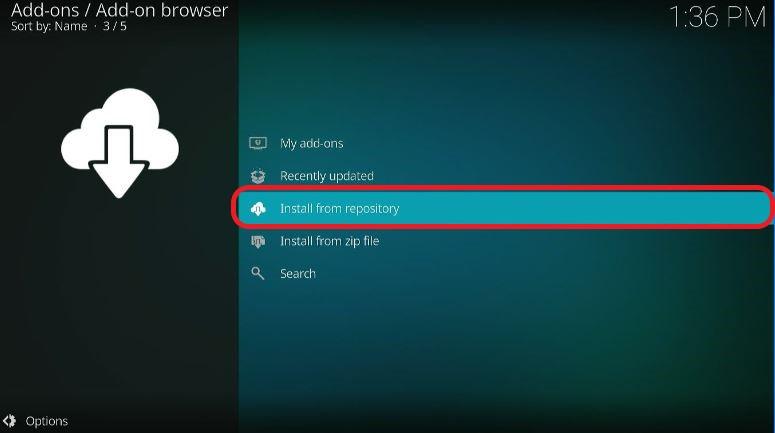
Step 16: You’ll find all the repositories that you have installed here. Open “Maze Repository.”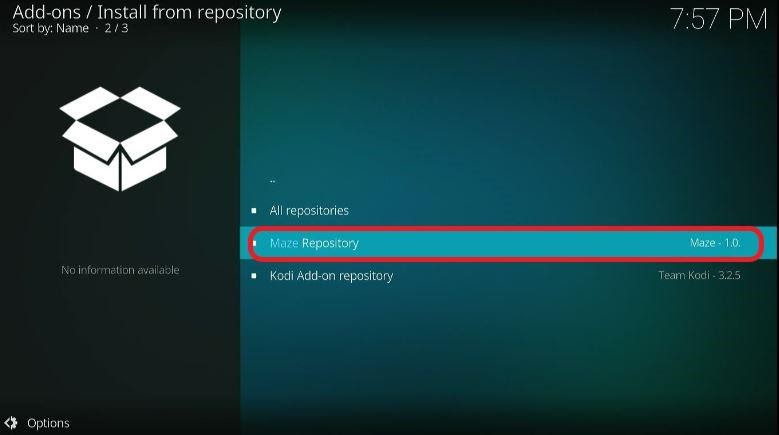
Step 17: In the following window, Launch “Program add-ons.”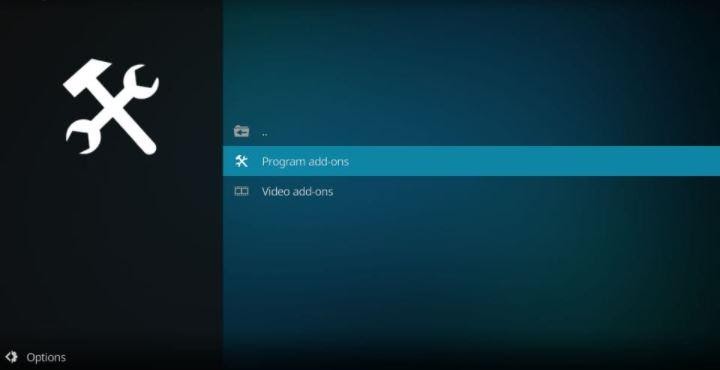
Step 18: Select “Maze Wizard.”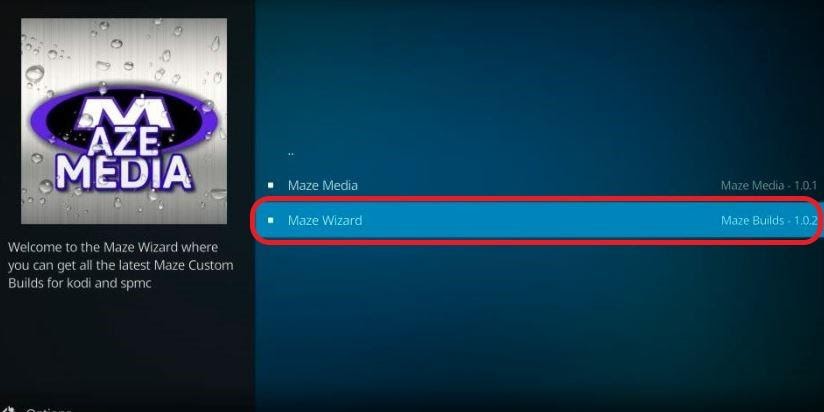
Step 19: The Maze Wizard menu will open. Choose “Install” located at the lower right corner. 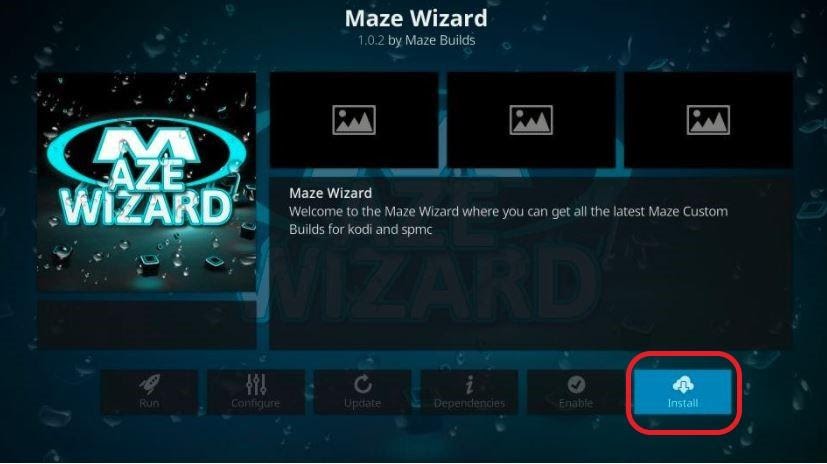
You’ll need to wait for some time before the message titled “Maze Wizard Add-on installed” appears on your screen.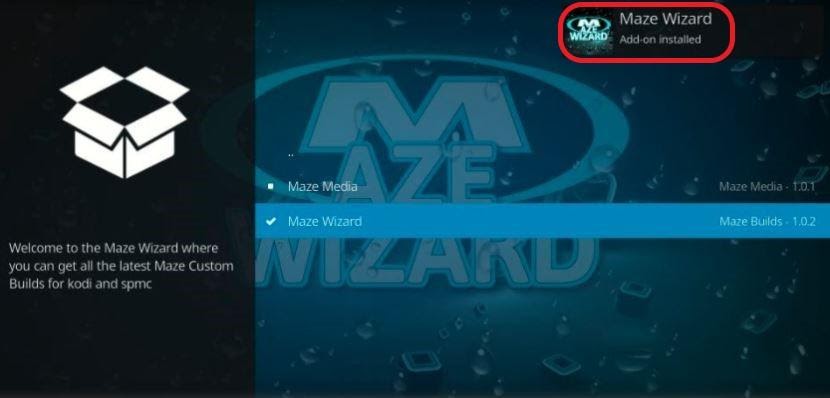
Step 20: After the message, a Maze Wizard prompt will emerge. Tap on “Dismiss.”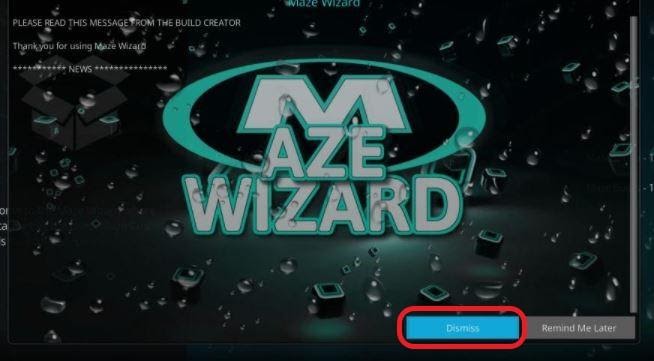
Step 21: Click on “Continue.”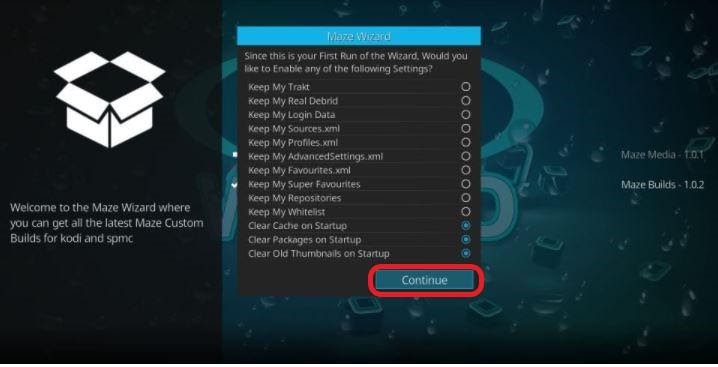
Step 22: You can now opt for “Build Menu” and go to Step 27.
In case you decide to choose “Ignore,” quickly run through the following steps.
Step 23: Head to Kodi’s home screen. Once you’re there, you need to select “Add ons.”
Step 24: Navigate and choose “Program add-ons.” You’ll be able to find it situated on the menu towards the left.
Step 25: Run “Maze Wizard.”
Step 26: On the following window, go ahead and Tap on the “(Maze) builds” tab.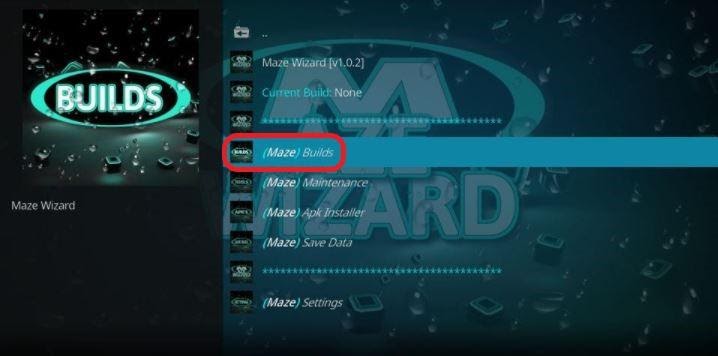
Step 27: Based on your preferences, pick the build which you want to install. The “Maze Family Buld 18” will be the best build version for Kodi 18 Leia.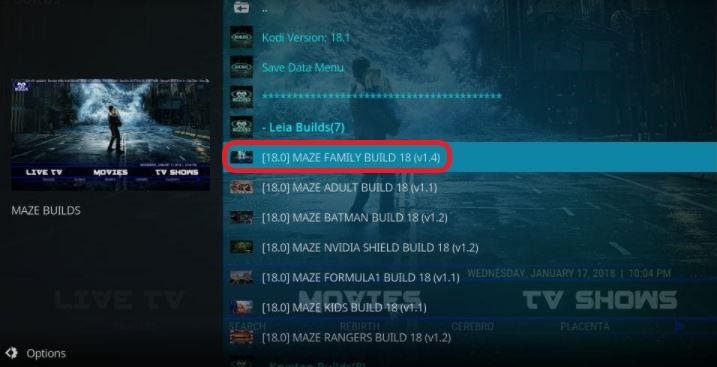
Step 28: Keep in mind that before you install the build, you must reset Kodi. Select Fresh Install. 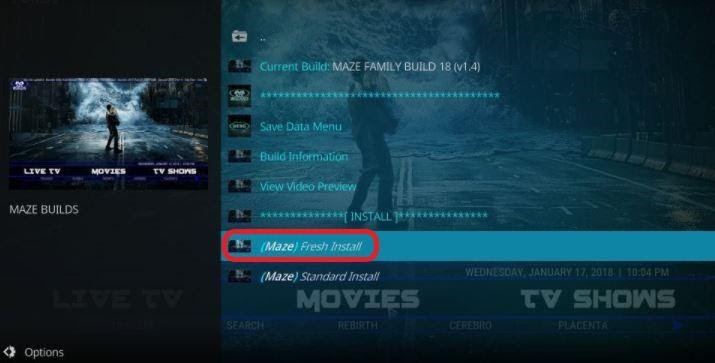
You can also use the Standard Installation. However, use it only in the case you wish to revert to your old Kodi setup.
Step 29: Once you see the popup, hit “Continue.”
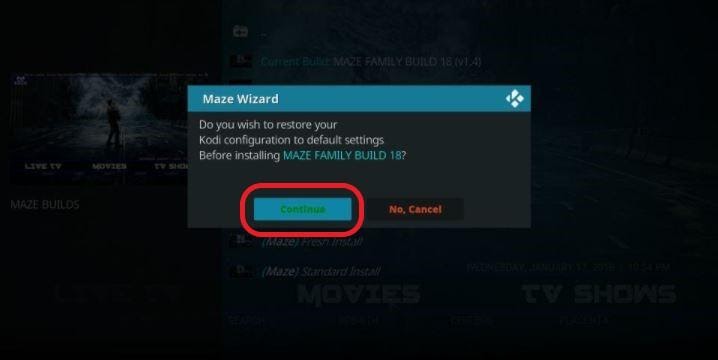
 Let the build finish downloading and get installed on your Firestick. The ETA depends on the speed of your internet connection and the server status.
Step 30: When the installation is over, choose “Force Close.” 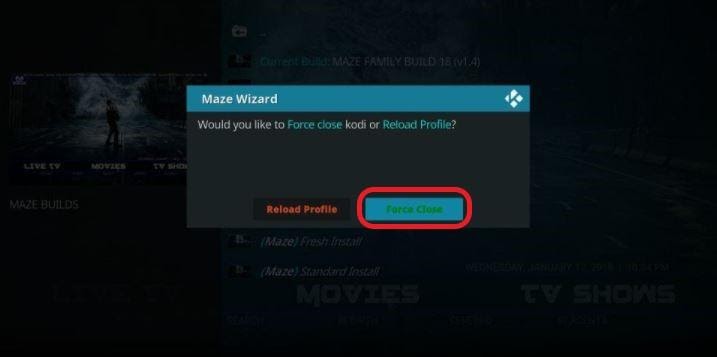
Once you complete all 30 steps in exact order, your Maze build will be ready for you.
We recommend you to get ExpressVPN as it is the most secure and fastest VPN for Kodi. It has a no-log policy as well.
The VPN service comes with a 30 days trial. If you don’t like the features, it offers you a full refund.
However, the best part is that ExpressVPN is compatible with most streaming devices.
Step 1: Head to your Firestick home screen.
Step 2: Click on “Find” and then “Search.”
Step 3: Type ExpressVPN. Select it when it shows.
Step 4: Choose “Download.”
Step 5: Open the app and follow the steps to use the VPN.
Consider getting a VPN with these features:
When you’re using the addons to access premium content for free, you might end up engaging in something illegal. Everything that you stream is visible to your Government and ISP. And that’s when a VPN service can help you mask your identity.
With that said, let’s look at more aspects of why you must consider using a VPN while using Kodi.
We briefly mentioned that your ISP and Government know all about your streaming adventures. To make matters worse, your ISP can share your activities with the government. They’ll throttle your internet speeds to stop you from accessing the pirated sites.
With a good VPN, you can reroute your internet traffic. That will help you mask your activities.
VPN services help in protecting your information. It also prevents hackers from accessing your system.
These services are like your own personal bodyguard. It offers strong internet security that no one can breach.
When you’re traveling and accessing Kodi, you probably connect to the public hotspots. Public WiFi networks are never safe. And hackers love to infiltrate public data.
We urge you to use a VPN while connecting to public networks to protect yourself. Keep yourself safe and secure. Don’t give malicious users a chance to violate your data.
You, essentially, don’t have an identity when you’re using a top-tier VPN. Everyone, including your ISP, Government, and online Hackers, remains blind to your internet traffic.
You remain hidden because the VPN masks your IP address.
VPNs not only protect you from others, but these services also connect to different servers. When you use a VPN to connect to a foreign country, Kodi perceives that you are accessing the platform from that country.
In this way, you’ll be able to access all the geo-blocked shows and games right at the comfort of your home.
Live sporting events sometimes impose blackouts. These are similar to geo-restrictions. Channels like ESPN and NHL.tv use blackouts for their live games.
Simply use a VPN to overcome these limitations. Just connect to a server outside the blackout region.
If you have been accessing streaming sites without a VPN, there’s a high possibility that your ISP has already throttled your internet connectivity.
Use a VPN for improved downloading speed and a smooth streaming experience.
Let us look at some of the great features of the Maze Kodi build.
That’s true even with low RAM devices such as your Firestick. The build contains proper and well-defined sections for Movies, TV Shows, Live TV, Sports, Music, and Kids Zone.
To start using the Kodi build, restart the Kodi App after the installation.
Do not use Maze Kodi directly the first time you launch it. Give it a few minutes.
Kodi will update the platform’s settings and for various addons and configure the build.
The interface of all the Maze builds has very similar functionalities. You won’t have a problem figuring things out. The Menu and Submenu options are at the bottom.
If you want to look at the pre-installed Addons, follow the following steps:
Step 1: Go to “System.”
Step 2: Then “Video Add-ons.”
The first and the best reason for Kodi builds on Firestick is that it comes with free addons.
All the builds are different. These builds come with their packages.
You can get addons for various Cartoon shows, Movies, Torrent, Live TV, and Sports, among others.
The Maze Kodi builds have different Addons. Besides, these addons are new and different from your pre-installed addons.
Furthermore, some of the addons available on builds might not be officially published yet.
Free skins are available with every package. Plus, you can completely customize the interface of the app.
You can even change the background of the Kodi app. The interface has various themes, and the settings will be different from the previous versions.
Many users can change the skins and addons quite easily. But oftentimes, you’ll have to install addons one by one and find the URLs for each skin separately. And that can be quite excruciatingly inconvenient and time-consuming.
But with builds, you can do everything automatically. Install the build, and you’ll get skins, addons, and other features.
With that, we close our immersive tutorial on unlocking Maze Kodi builds on your Firestick device.
Maze build is exceptional if you want to experience Kodi in different ways. The build has tons of features for you to try. All of these builds are lightweight and have a simple interface.
The only thing left for you to do now is to embark on this journey. And tap into the benefits that Maze Kodi builds have in store for you.

You need to load content from reCAPTCHA to submit the form. Please note that doing so will share data with third-party providers.
More InformationYou are currently viewing a placeholder content from Turnstile. To access the actual content, click the button below. Please note that doing so will share data with third-party providers.
More InformationYou are currently viewing a placeholder content from Facebook. To access the actual content, click the button below. Please note that doing so will share data with third-party providers.
More InformationYou need to load content from reCAPTCHA to submit the form. Please note that doing so will share data with third-party providers.
More InformationYou are currently viewing a placeholder content from reCAPTCHA. To access the actual content, click the button below. Please note that doing so will share data with third-party providers.
More InformationYou are currently viewing a placeholder content from Instagram. To access the actual content, click the button below. Please note that doing so will share data with third-party providers.
More InformationYou are currently viewing a placeholder content from X. To access the actual content, click the button below. Please note that doing so will share data with third-party providers.
More Information